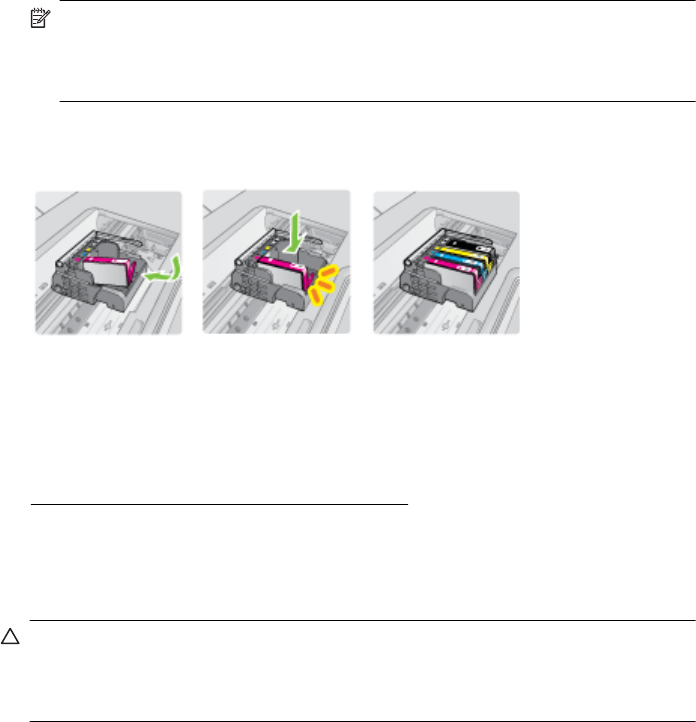
9. Carefully lower the latch handle.
NOTE: Make sure you lower the latch handle before reinserting the ink
cartridges. Leaving the latch handle raised can result in incorrectly seated ink
cartridges and problems printing. The latch must remain down in order to
correctly install the ink cartridges.
10. Using the colored shaped icons for help, slide the ink cartridge into the empty slot
until it clicks into place and is seated firmly in the slot.
11. Close the ink cartridge door.
Advanced ink cartridge maintenance
This section contains the following topics:
•
Clean the sensor windows on the ink cartridges
Clean the sensor windows on the ink cartridges
If the problem is not resolved, printing can continue, but the ink system behavior might
change.
CAUTION: The cleaning procedure should take only a few minutes. Make sure
that the ink cartridges are reinstalled in the printer when instructed. Leaving them
outside of the printer for an extended period of time can result in damage to the ink
cartridges.
To clean the sensor window on the ink cartridges
1. Gather swabs or a lint-free cloth to use for the cleaning procedure.
2. Make sure the printer is turned on.
Print quality troubleshooting 121


