


Setting Up the Analyzer
To Insert or Remove an Interface Pod
1-28
To Insert or Remove an Interface Pod
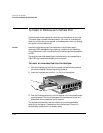
Interface pods can be inserted or removed from the analyzer at any time.
The power does not need to be switched off. You insert an interface pod
when you initially set up the analyzer, and subsequently when you change
the type of line to be monitored.
Caution Handle the interface pod with extreme care to avoid electrostatic
discharge (ESD) damage during unpacking, installation, and operation.
The connectors on the front and back of the interface pod are susceptible
to ESD.
The analyzer uses high speed digital interfaces which are susceptible to
ESD. ESD may cause received data to be corrupted.
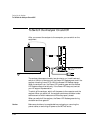
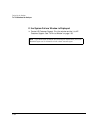
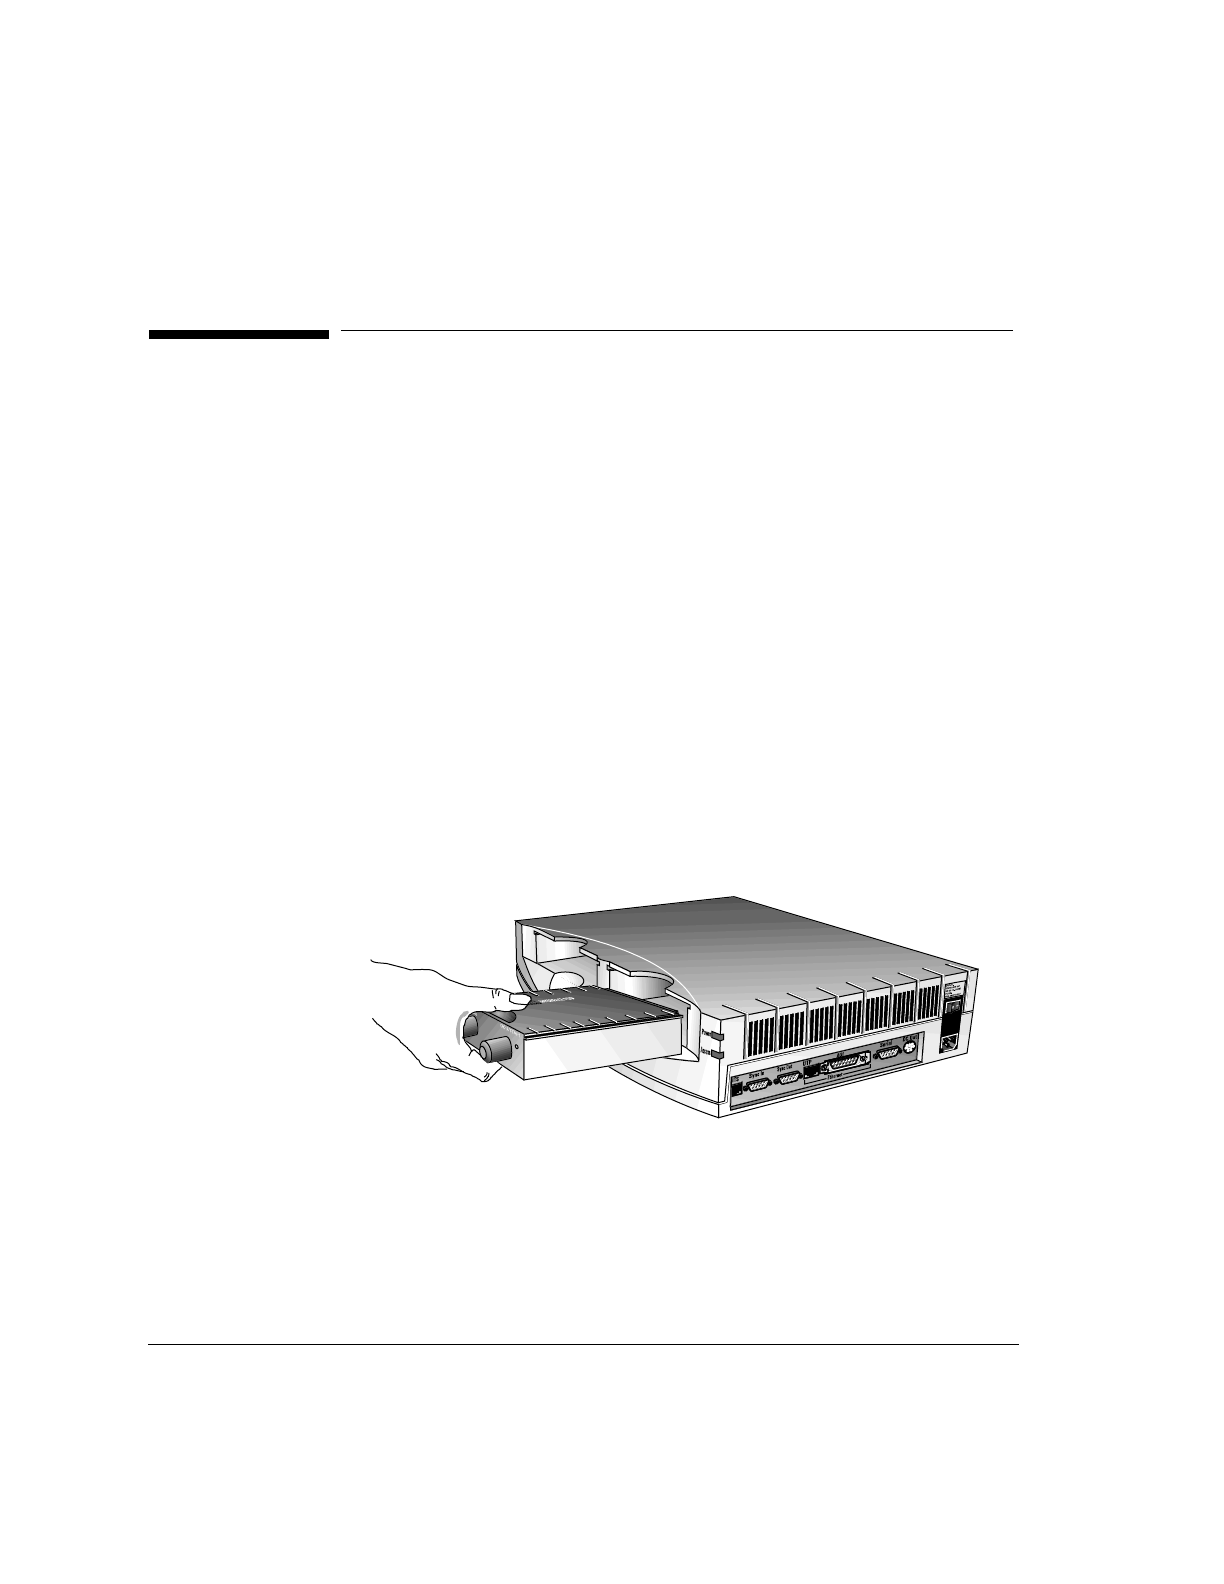
To Insert an Interface Pod into the Analyzer
1 Hold the interface pod with the front-panel connectors facing toward
you and the Hewlett-Packard logo facing upwards.
2 Insert the interface pod into Port 1 or Port 2 of the analyzer.
3 Push the interface pod firmly into the analyzer until the connectors are
properly seated. The clip on the base of the interface pod clicks into
place when the interface pod is fully inserted.
The analyzer automatically sets the transmit and receive parameters
according to the signal it receives from the interface pod. The port is
automatically configured for full duplex mode.