D SERIES CONTROLLER
TROUBLESHOOTING AND COMPONENT REPLACEMENT
2-17
K
a
a
aw
s
k
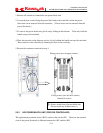
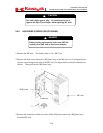
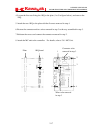
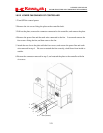
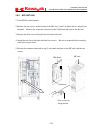
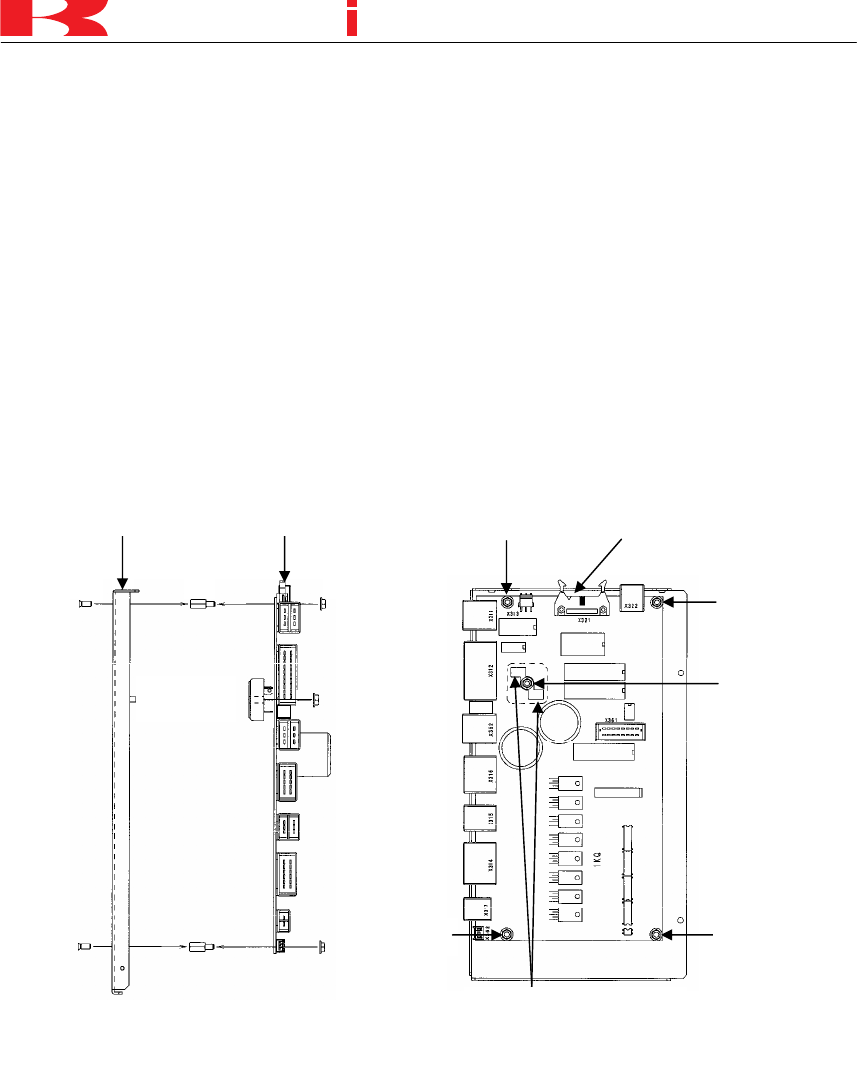
4. Loosen the five nuts fixing the 1KQ to the plate (1 to 5 in figure below), and remove the
1KQ.
5. Attach the new 1KQ to the plate with the five nuts removed in step 4.
6. Restore the connector and two wires removed in step 3 to the assy assembled in step 5.
7. Refasten the screws and connect the connector removed in step 2.
8. Attach the MC unit to the controller. For details, refer to 2.4.1 MC Unit.
Plate
1KQ board
Connector to be
removed in step 3
1
5
4
2
3
Wires to be removed
in step 3


