


Settings and Printing
Network
NetworkMaintenance and Spec.
Setup in UNIX
67
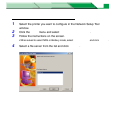
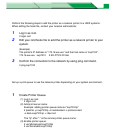
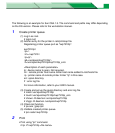
Step 2: Adding the printer to UNIX systems
Perform the following steps to add the printer as a network printer to a UNIX systems.
When editing the hosts file, contact your network administrator.
1 Log in as root.
# login root
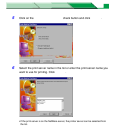
2 Edit your /etc/hosts file to add the printer as a network printer to your
system.
(Example)
The printer's IP Address is "172.16.xxx.xxx" and the host name is "kxp7310".
172.16.xxx.xxx kxp7310 # KX-P7310 Printer
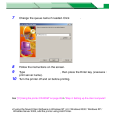
3 Confirm the connection to the network by using ping command.
# ping kxp7310
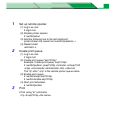
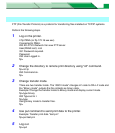
Step 3: Setting up print queues
Set up a print queue to use the network printer depending on your system environment.
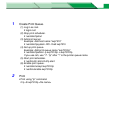
[For Solaris 2.6]
1 Create Printer Queue.
(1) Log in as root.
# login root
(2) Add print server name.
Example: adding printer queue name as "kxp7310lp"
# lpadmin -p kxp7310lp -m netstandard -o protocol=bsd
-o dest=kxp7310:lp -v /dev/null
The "lp" after ":" is the remote printer queue name.
(3) Enable printer queue:
# usr/sbin/accept kxp7310lp
# usr/bin/enable kxp7310lp