●Checking a timetable
Checkatimetableusingtheprogrampreviewfunction.
All the registered schedule data and timetable data is erased in the SHARP Digital Signage Software
standaloneversion(PN-SS01).
1. From the [File] menu, click [Preview Timetable].
A preview of the timetable will be displayed.
2. Check the preview.
•Toclosethepreview,clickthepreviewwindowandpress[Esc]tostopthedisplay,andthendelete
thescheduleinformationfromtheClientSchedulerofthetasktray.(
F
p.99)
•IftheprogramscreensizeislargerthanthedisplayresolutionofthePCmonitor,thepreviewwill
not be able to display the entire program screen.
●Deleting a timetable
Delete unnecessary timetables.
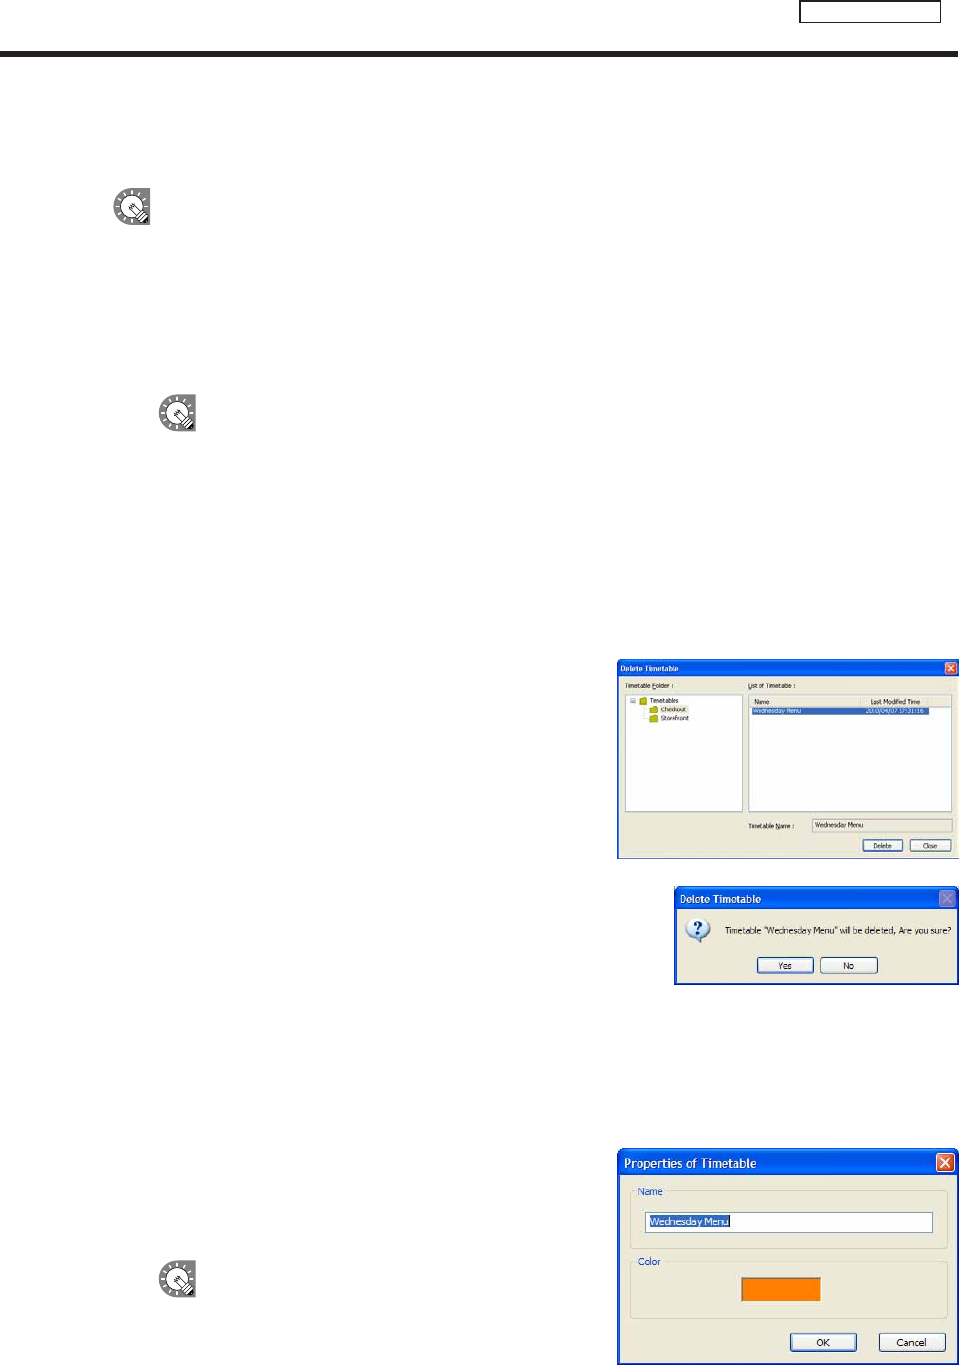
1. From the [File] menu, click [Delete Timetable].
The[DeleteTimetable]dialogboxwillappear.
2. Select the timetable folder containing the timetable.
3. From the “List of Timetable”, select a timetable, and
click [Delete].
4. Click [Yes].
The selected timetable is now deleted.
5. Click [Close].
●Changing timetable name and timetable color
1. From the [File] menu, click [Properties of Timetable].
The[PropertiesofTimetable]dialogboxwillappear.
Checkthe“Name”and“Color”.
• The“Name”canbechanged.
• Clickthecolorswatchtodisplaythe[Color]dialogbox
and change the timetable color.
The“Color”isthecolorusedtodisplaythe
timetableinScheduleEditor.
2. Click [OK].
Creating a timetable


