


Create Your MAPs 97
Create Your MAPs Depending on how your MAPs are connected to a WX switch, you need
to create a direct connect MAP or a distributed MAP in your network plan
in 3WXM.
A direct connect MAP is connected to the wired network through a direct
10/100 Ethernet connection to a WX switch. A distributed MAP is
connected to the WX switch indirectly through other Layer 2 or Layer 3
wired networking devices.
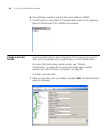
To create a directly connected MAP in 3WXM:
1 In the Equipment area of the Organizer panel, expand the WX switch.
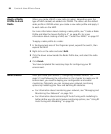
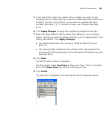
2 Right-click on Port/MAPs, right-click on a port, and select Edit. The
Modify Ports/MAPs wizard is displayed.
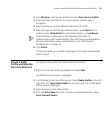
3 Select the MAP enabled checkbox to the left of the Port number that
will connect to the MAP.
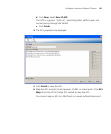
4 Click Finish.
The MAP appears under Ports/MAPs for the switch, in the Organizer
panel.
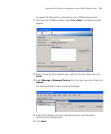
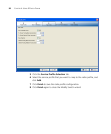
To create a Distributed MAP in 3WXM:
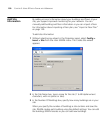
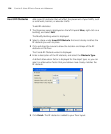
1 In the Equipment area of the Organizer panel, right-click on Distributed
MAPs under the WX switch, and select Insert > Distributed MAP. The
Create Distributed MAPs wizard is displayed.
2 Enter the MAP name and the MAP serial number.
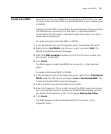
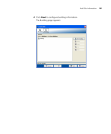
3 Enter the fingerprint. This is a hash value of the MAP’s public encryption
key, and may be printed on the back of the MAP. Alternatively, you also
can display the fingerprint in the CLI, by typing display dap status.
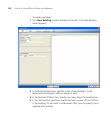
4 Click Finish.
The MAP appears under Distributed MAPs for the switch, in the
Organizer panel.