


98 CHAPTER 4: USING RF AUTO-TUNING
Apply a Radio
Profile to Each
Radio
When you create a MAP, a new radio (or radios, depending upon the
type of MAP created) are added into 3WXM. The radios use the default
radio profile in 3WXM unless you create a new radio profile and apply it
to each radio on the MAP.
For more information about creating a radio profile, see “Create a Radio
Profile and Map the Service Profile to It” on page 95. For more
information about creating a MAP, see “Create Your MAPs” on page 97.
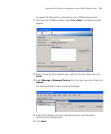
To apply a radio profile to a radio:
1 In the Equipment area of the Organizer panel, expand the switch, then
expand the MAP.
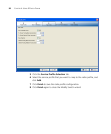
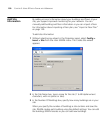
2 Right-click on the radio and select Edit.
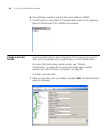
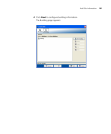
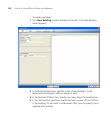
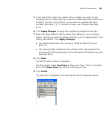
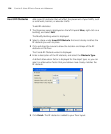
3 Click the down arrow beside the Radio Profile box, and select the radio
profile.
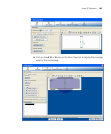
4 Click Finish.
You have completed the necessary steps for configuring your RF
environment.
What’s Next? After you create your services (“Configuring Wireless Services” on
page 51) and following the instructions in this chapter to create your RF
environment, you need to deploy your configuration and enable
monitoring. Optionally, you can improve your network monitoring
options by modelling your floor and defining RF obstacles.
For information about monitoring your network, see “Managing and
Monitoring Your Network” on page 143.
For information about enhancing RF Auto-Tuning with modelling to
better define your site and improve monitoring options, see “Using RF
Auto-Tuning with Modelling” on page 99.