9. Image menu
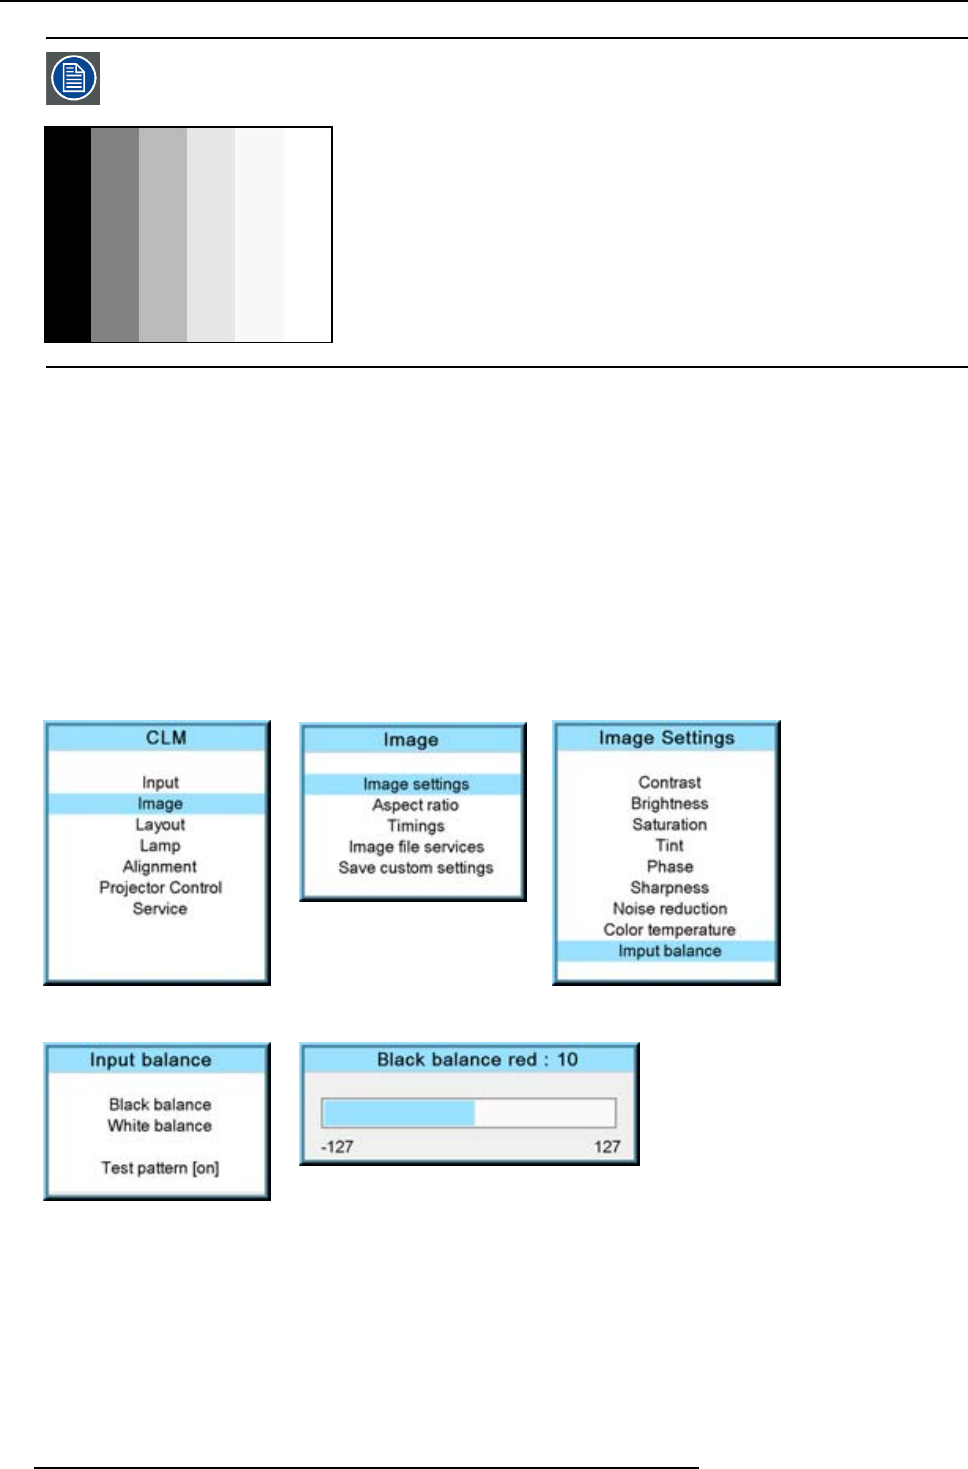
An alternative to a full screen White/black pattern is the standard gray scale pattern, the white bar will be used
for white balance and the black bar for black balance.
Image 9-45
Black balance
1. Press MENU to activate the menus.
2. Use the ▲ or ▼ key to select Image and press ENTER.
3. Use the ▲ or ▼ key to select Image settings and press ENTER.
4. Use the ▲ or ▼ key to select Input balance and press ENTER.
5. Do you want to use an internally generated test pattern ?
If yes, Use the ▲ or ▼ key to select Test pattern and press ENTER to toggle between [on] and [off]
If no, Adjust on the selected source.
6. Use the ▲ or ▼ key to select Black balance and press ENTER.
Depending whether a test pattern is selected or not, the adjustment image is displayed.
7. Toggle with ▲ or ▼ key to select Black balance red.
Image 9-46
Image 9-47
Image 9-48
Image 9-49
Image 9-50
8. Adjust the red black level on a minimal value
9. Toggle with ▲ or ▼ key to Black balance blue and adjust the blue black level on a minimal value.
Note: This minimalvalue is notnecessary , provided thatthe 2 othercolors are notinfluencing toomuch the colorto be adjusted,
in fact the aim is to minimize the effect of the two other colors since there is a risk of reaching too soon the 50% transition
due to the contribution of these two other colors signals.
10.Toggle with ▲ or ▼ key to Black balance gree
n and adjust the Green black level until bright spots appear on the screen.
11.Toggle with ▲ or ▼ key to Black balance blue adjust the Blue black level until bright spots appear on the screen.
12.Toggle with ▲ or ▼ key to Black balance red adjust the Red black level until bright spots appear on the screen.
80
R59770057 CLM HD8 15/03/2010


