


Using the printer 2-5
User’s Guide for ImageCard® Select™ and UltraGrafix® Select™ Printers
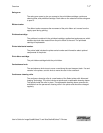
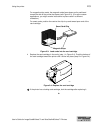
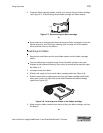
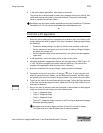
3 Grasp the ribbon cartridge handle, and lift up to remove the print ribbon cartridge
(see Figure 2-7). Avoid touching the printhead cartridge and ribbon tracker.
Figure 2-7: Remove the print ribbon cartridge
♦
Some users run a cleaning cycle whenever the print ribbon is changed. If your site
follows this policy, see “Running a cleaning cycle” on page 4-2 for the steps to
follow, and then return to this section.
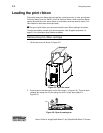
Load the print ribbon
1 Remove the used ribbon and the used ribbon spools from the ribbon cartridge
shafts.
The print ribbon has a negative image of the information printed on the card.
Dispose of print ribbon according to your policy for protecting the data that might
be visible on it.
2 Unwrap the new print ribbon.
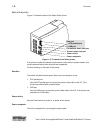
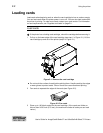
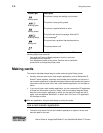
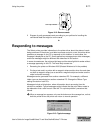
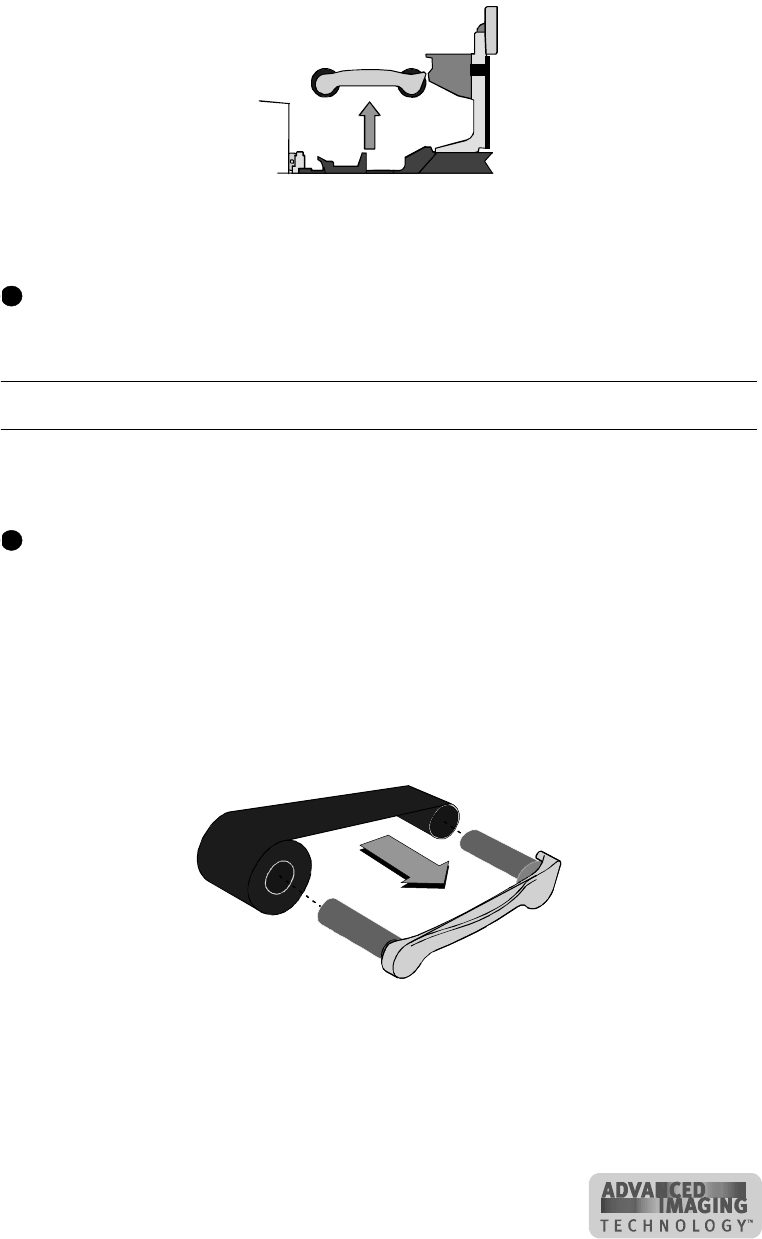
3 Slide the full supply roll onto the left ribbon cartridge shaft (see Figure 2-8).
4 Slide the empty take-up ribbon spool onto the right ribbon cartridge shaft (which
has a gear). Leave very little slack in the ribbon between the ribbon cartridge
spools (see Figure 2-8).
Figure 2-8: Load new print ribbon on the ribbon cartridge
5 Make sure print ribbon unwinds over the top of the print ribbon cartridge, not from
the bottom.
♦
i
i