Install the printer 7-9
User’s Guide for ImageCard® Select™ and UltraGrafix® Select™ Printers
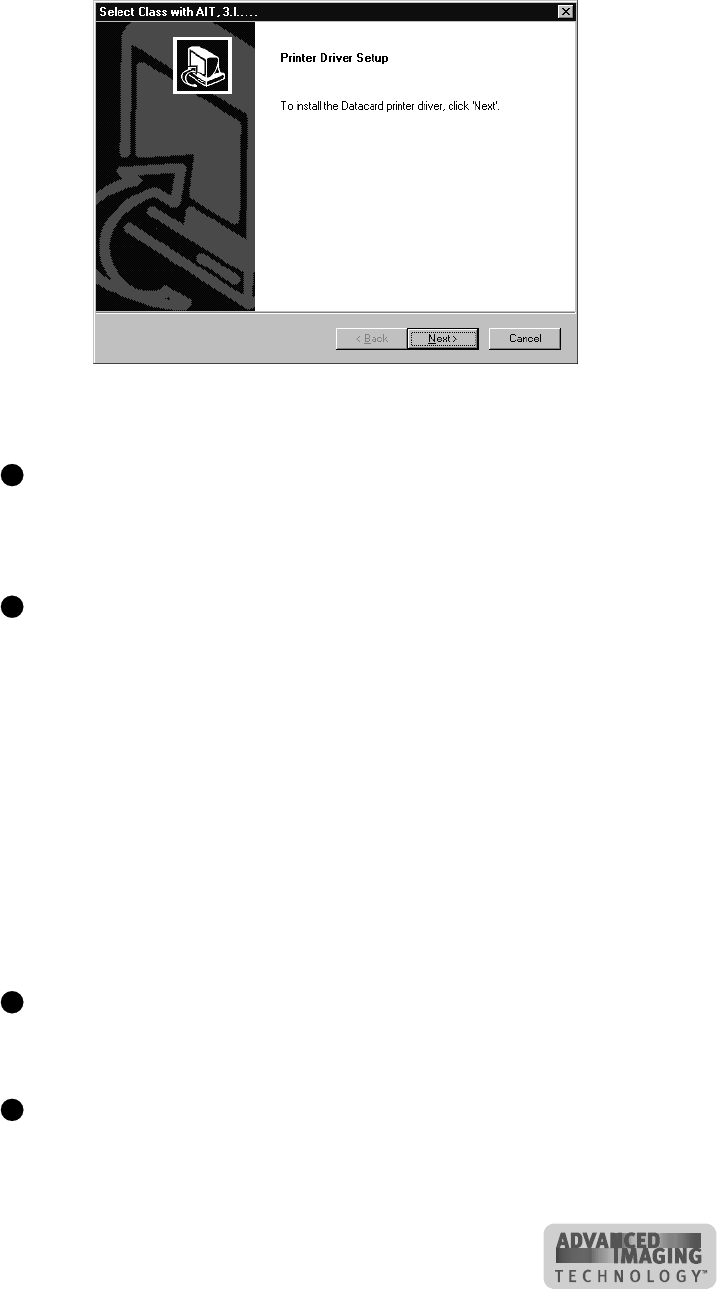
Figure 7-6: Driver installation program
5 Click Next in the first Printer Driver Setup dialog box.
The installation program automatically detects the operating system on your
PC and selects the driver for that operating system. For Windows 2000, you
will run a second program to complete installation.
6 Review the License Agreement and click Yes to continue.
If you used a different sequence to start installation, you might have a slightly
different sequence of prompts.
7 The installation program displays a question asking whether you would like to
view the Release Notes. Do one of the following:
– Click Next to continue.
– Click Yes and then Next to open the Release Notes in WordPad. Close the
Release Notes when you have viewed the information.
– For Windows 2000, clicking Next takes you to step 13.
8 Use the default name for the printer or enter a name of your choice. If you plan to
share the printer across a network, “Select” must be part of the printer name. Click
Next (not shown for Windows 2000).
9 Select the port to which the printer is connected and click Next (not shown for
Windows 2000).
Select only one port for printer connection.
10 Select whether this printer should be the default printer (not shown for Windows
2000).
The small page size for cards might cause unexpected results with some
applications if the Select printer is the default.
11 Click Next (not for Windows 2000).
E
E
E
E
