


152
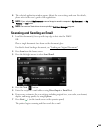
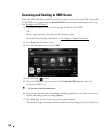
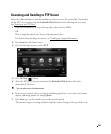
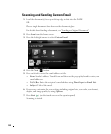
Scanning and Sending Custom Email
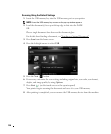
1
Load the document(s) face up with top edge in first into the DADF.
OR
Place a single document face down on the document glass.
For details about loading a document, see "
Loading an Original Document".
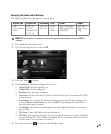
2
Press
Scan
from the home screen.
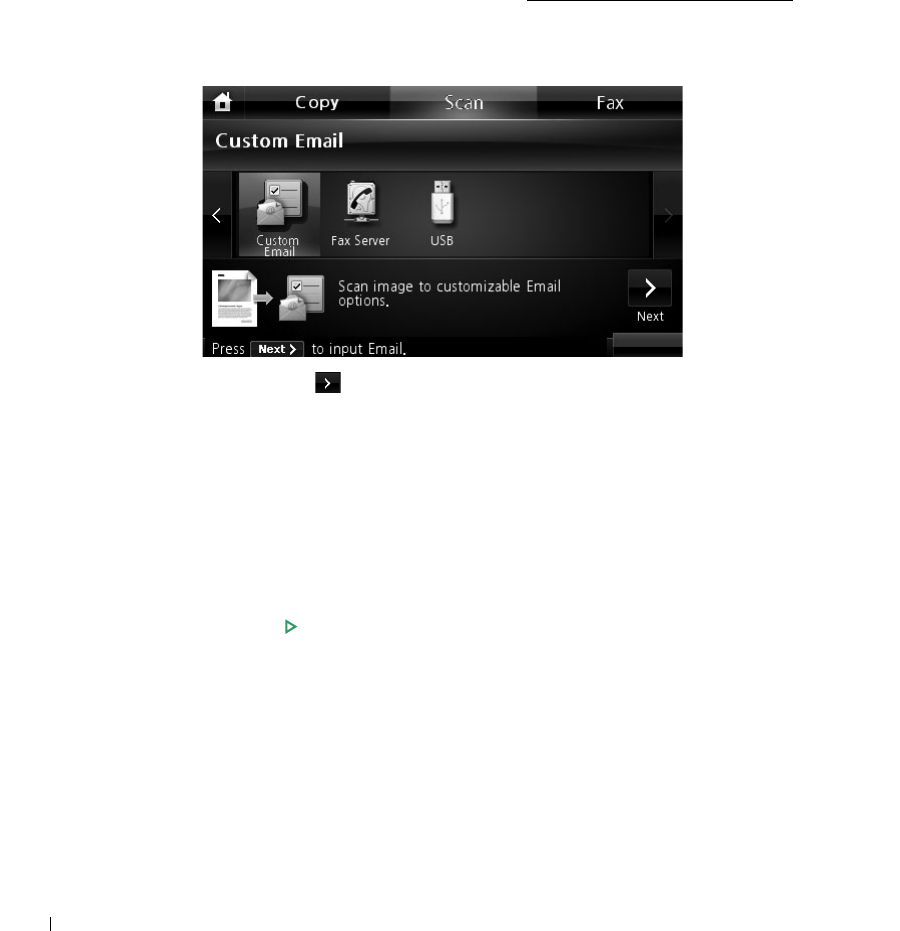
3
Press the left/right arrows to select
Custom Email
.
4
Press the
Next
( ) button.
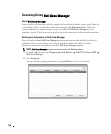
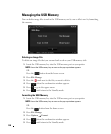
5
Press each tab to enter the email address or title.
•
From
: Sender's address. Touch From and then use the pop up keyboard to enter your
email addresses.
•
To/Cc/Bcc
: Enter the recipient’s email address using
Direct Input
or
Email List
.
•
Subject
: Title of the email.
6
If necessary, customize the scan settings including original size, scan color, scan format,
duplex, and image quality by using
Options
.
7
Press
Start
(
)
. (on the touch screen or the operator panel)
Scanning is started.