204
2
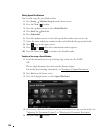
Press the
Next
( ) button.
3
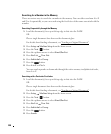
Press the up/down arrows until you see the fax job you want to cancel.
4
Press the mark next to the fax job you want to cancel.
5
Press when the confirmation window appears.
The selected job is canceled.
Fax Forward to E-mail addresses
You can set the printer to forward all outgoing or incoming faxes to the e-mail addresses.
1
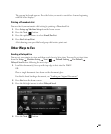
Press
Setup
Machine Setup
from the home screen.
2
Press the
Next
( ) button.
3
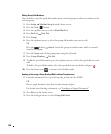
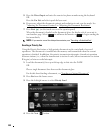
Press the up/down arrows to select
Email Setup
.
4
Press the up/down arrows to select
Email Forward
.
5
Select the option you want at
Attachment Type
or
Print Local Copy
.
6
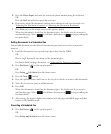
Press
Fax Forwarding
.
7
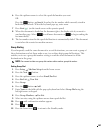
Press the left/right arrows to select the appropriate option you want.
•
Off
: Enables you to turn this feature off.
•
All Faxes
: Enables you to forward both incoming and outgoing faxes to a specified
e-mail address.
•
Tx Only
: Enables you to forward only outgoing faxes to a specified e-mail address.
•
Rcv Only
: Enables you to forward only incoming faxes to a specified e-mail address.
When you select this option, you should choose whether the printer prints out the
incoming faxes.
8
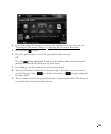
Enter the
From
/
To
using the keyboard.
9
Press the home icon ( ) to return to the Standby mode.


