


4.
Remove one of the VRAMs from its anti-static package,
being careful not to touch the pins on the device.
5.
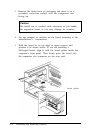
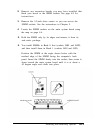
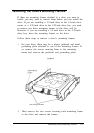
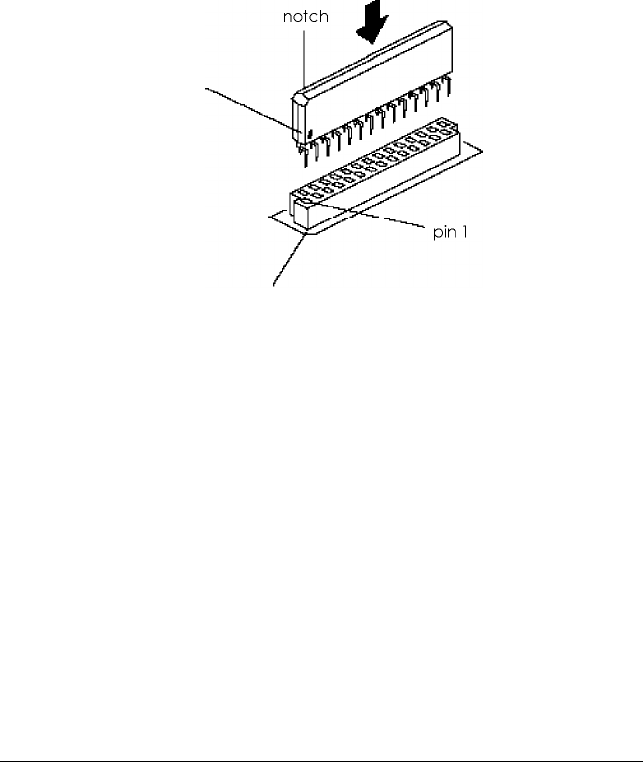
You install the first VRAM in socket Ul0Cl. Position the
VRAM so that its orientation mark (either a notch or a small
dot) is aligned with the end of the socket containing pin 1.
This is the end of the socket that is nearer to the computer’s
back panel. (There is a notch in the silkscreening on the
main system board, but it may be difficult to see.)
orientation dot
notch in silkscreening
6.
Align the pins on the VRAM with the holes in the socket and
press in the VRAM. Be careful not to bend the pins.
7.
Repeat steps 4 through 6 to install the remaining seven
VRAMs in sockets Ul0B5, Ul0B4, Ul0B3, Ul0B2, Ul0Bl,
Ul0A2, and Ul0Al.
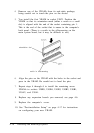
8.
Replace any expansion boards you removed; see page 4-6.
9.
Replace the computer’s cover.
10. See “Post-installation Setup” on page 4-17 for instructions
on configuring your new VRAM.
4-16
Installing and Removing Options