4.
If you are installing an externally accessible drive, you need
to remove the front bezel filler panel for that drive slot.
Press in on the four retaining clips inside the filler panel
and push it out the front of the bezel, as shown in the
previous illustration.
5.
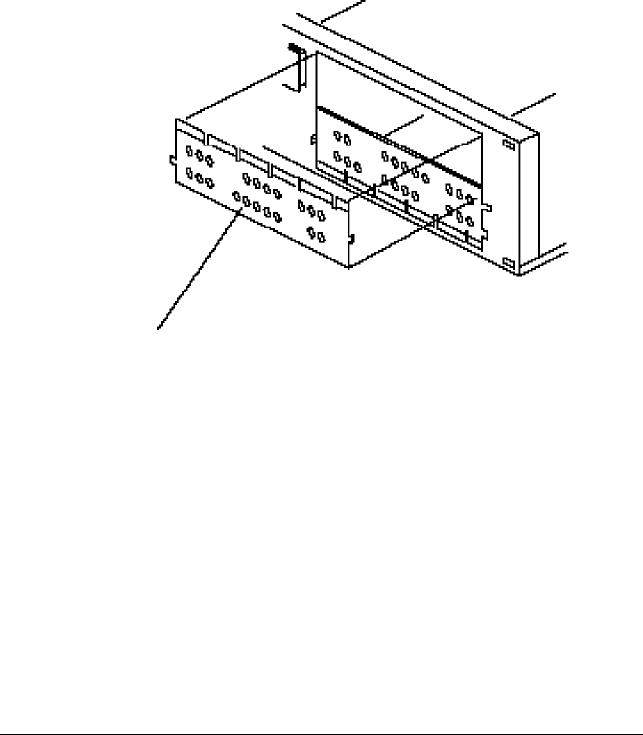
To remove the metal plate covering the front of the selected
drive slot, pull the plate outward slightly to release its tabs
from the slots in the computer case. Save the plate for
future use in case you remove the drive later.
metal plate
6.
Set any jumpers or switches (if required) on the drive you
are installing according to the manufacturer’s instructions.
7.
Slide the drive into the front of the bay. Adjust its position
so the front of the drive either protrudes from the
computer’s front panel (for externally accessible drives) or
fits completely behind the front panel (for internal drives).
8.
Align the holes in the drive with the appropriate holes in the
drive bay.
5-10 Installing and Removing Drives


