


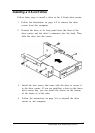
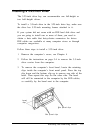


Installing a 5.25-inch Drive
The 5.25-inch drive bay can accommodate one full-height or
two half-height drives.
To install a 3.5-inch drive in the 5.25-inch drive bay, make sure
the drive has 5.25-inch mounting frames attached to it.
If your system did not come with an IDE hard disk drive and
you are going to install one or more of them, you need to
obtain a data cable that daisy-chains connectors for drives.
IDE cables are available at many computer stores or through
computer magazines.
Follow these steps to install a 5.25-inch drive:
1.
Remove the computer’s cover; see Chapter 4
2.
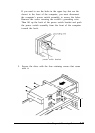
Follow the instructions on page 5-4 to remove the 3.5-inch
drive carrier from the computer.
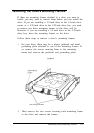
3.
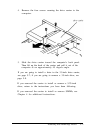
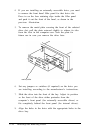
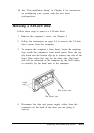
To remove the computer’s front bezel, locate the retaining
clips inside the computer’s front metal panel. Press the top
clip down and the bottom clip up to remove one side of the
bezel. Then repeat this step for the other side. The bezel
will still be connected to the computer by the LED cables,
so carefully lay the bezel next to the computer.
bezel
clips
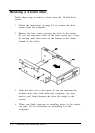
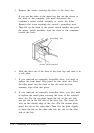
filler panel clips
filler panel clips
Installing and Removing Drives 5-9