S e c t i o n F o u r
120
F i g u re 4-4 Aligning Your Notebook in an Enhancement Unit
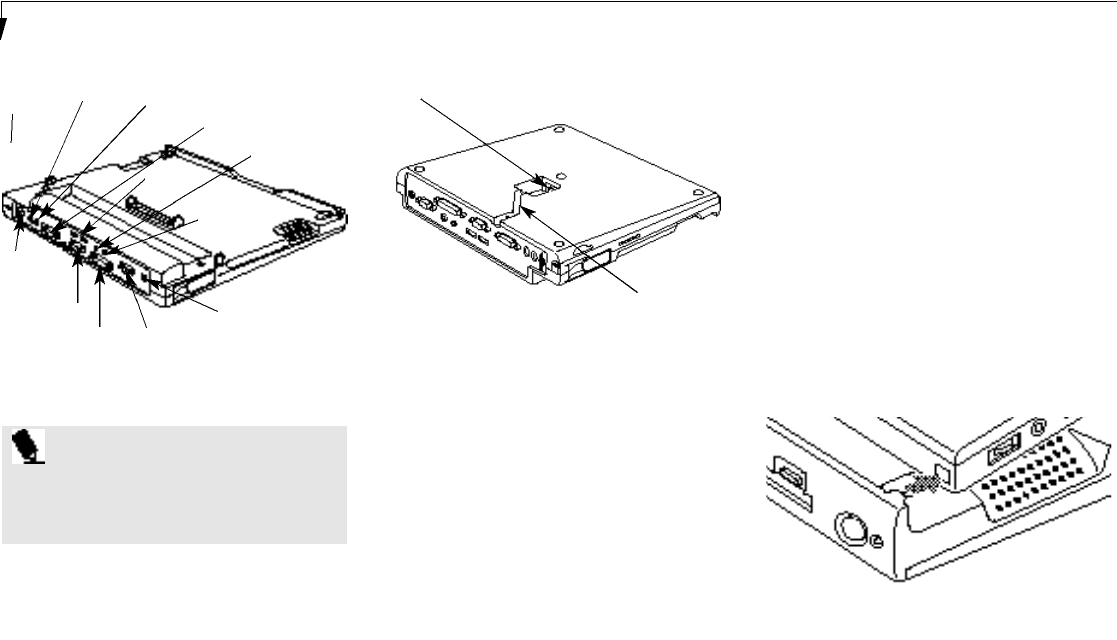
Figure 4-3 LAN Enhancement Bottom View
inch lower than the back. Slide the alignment
pins on the Enhancement Unit into the align-
ment holes on the front of your notebook.
(Figure 4-4.)
5. Pull the notebook as far forward in the
Enhancement Unit as it will go.
6. Push the rear of your notebook firmly down
onto the Enhancement Unit until it locks in
place. (Figure 4-5.)
7. Return your notebook to operation using the
Suspend/Resume button or power switch,as
appropriate. (When setting up for the first
time you must use the power switch.)
To Install your Notebook
in an Enhancement Unit
1. To use an Enhancement Unit it must be on a
flat surface.
2. Remove all connections from your notebook.
(See Figure 1-9 on page 8.)
3. Make sure the connector covers are closed.
4. Grasp your notebook on both sides with the
front facing you and tilt the front about an
Figure 4-2 LAN Enhancement Unit Rear View
Theft
Prevention
Slot
Theft
Prevention
Tab
PS/2 Keyboard
Port
PS/2 Mouse
Port
MIDI/Joystick
Port
Dual USB
Port
Serial Port
Stereo Line
Out Jack
Composite
Video Jack
Parallel
Port
External
Monitor Port
DC Power
Jack
P O I N T
Your Notebook can be docked in an
Enhancement Unit with the power On,
Off or in Suspend mode.
Ethernet
Cable Slot
Ethernet
Port


