


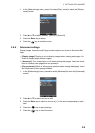
3. SETTINGS FOR HANDSET
3-17
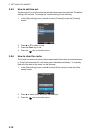
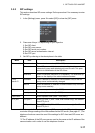
3.5.3 SIP settings
This section describes SIP server settings. Do the procedure if it is necessary to enter
SIP settings.
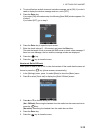
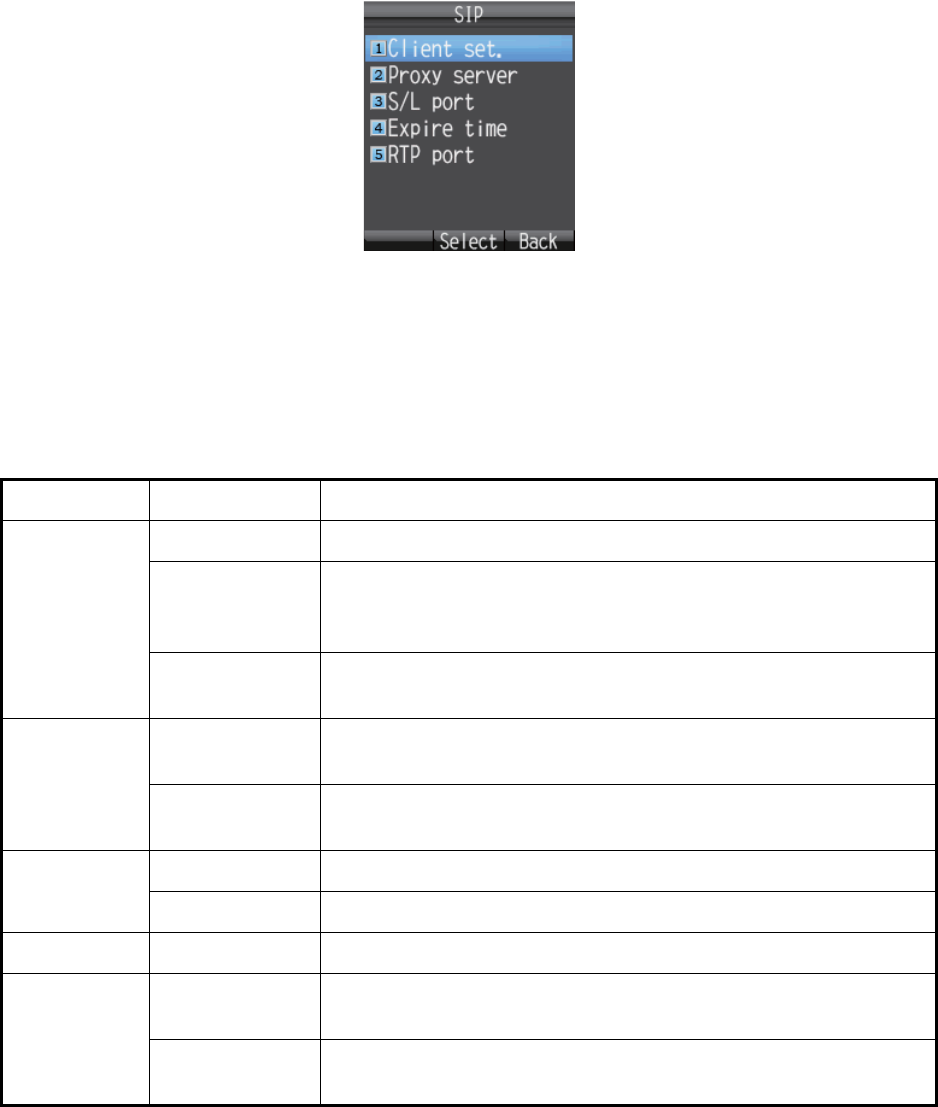
1. In the [Settings] menu, press 3 to select [SIP] to show the [SIP] menu.
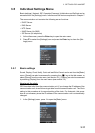
2. Press one of keys 1 -5 depending on your objective.
1: Set SIP client.
2: Set SIP proxy server.
3: Set SIP server port number.
4: Set SIP server authentication interval.
5: Set RTP port.
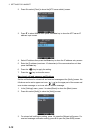
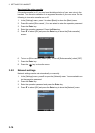
3. Set SIP by referring to the descriptions in the table.
*1: To change both extension number and SIP password at the [Client set.] menu, you
must also change a setting of the Web software at the SIP server. (See page 6-7.) The
telephone functions cannot be used if the settings for SIP client and SIP server are
different.
*2: The IP address of the SIP proxy server must be the same as the IP address of the
communication unit in order to use the telephone function.
Menu Item Description
Client set.*1 Phone number Enter extension number (1000 - 9999).
Password Enter SIP password. Up to a maximum of eight alphanumeric
characters (upper case alphabet only) can be used. This pass-
word is for identification at the SIP server.
Nickname Enter a nickname (maximum of 50 alphabet). The nickname ap-
pears on the display of the called extension handset.
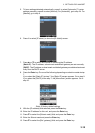
Proxy
server *2
Automatic The IP address (IP address of communication unit) of the SIP
proxy server is automatically changed.
Manual Enter the address (IP address of communication unit) of the SIP
proxy server manually.
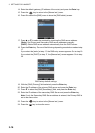
S/L port Server port Enter server port number (0 - 65535).
Local port Enter local port number (0 - 65535).
Expire time - Enter expiration time (1800 - 7200 (sec.)).
RTP port RTP port 1 Enter RTP port 1 (1024 - 9998, even number only). Set different
from RTP port 2.
RTP port 2 Enter RTP port 2 (1024 - 9998, even number only). Set different
from RTP port 1.