


Repair Information 4-9
4085-001
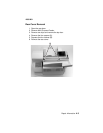
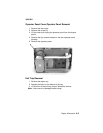
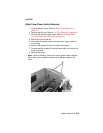
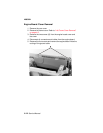
Right Cover/Power Switch Removal
1. Remove the rear cover. Refer to “Rear Cover Removal” on
page 4-3.
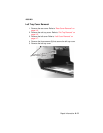
2. Remove the exit tray. Refer to “Exit Tray Removal” on page 4-5.
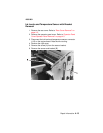
3. Remove the operator panel cover. Refer to “Operator Panel
Cover/Operator Panel Removal” on page 4-5.
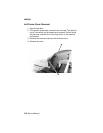
4. Move the carrier to the left.
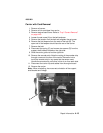
5. Disconnect the power switch from the power supply. Note the
wire routing.
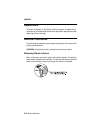
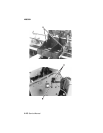
6. Remove two screws {A} from the right carrier frame.
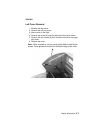
7. Remove the two screws {B} from the lower right front side of the
paper tray frame.
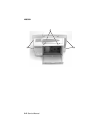
8. Remove the cover.
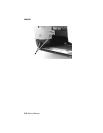
Note: When reinstalling, reinsert the cover guides before installing
the screws. Cover guides are located on the bottom edge of the
cover.