


Repair Information 4-17
4085-001
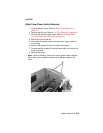
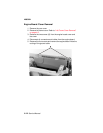
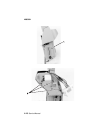
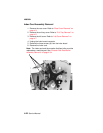
Carrier 1st Stage Drive Belt Removal
1. Remove the motor bracket from the printer frame.
2. Loosen the three screws securing the motor plate to the motor
assembly.
3. Gently depress the motor so that the 1st stage drive belt is
loosened. Retighten the three screws to fix this position.
4. Remove the original belt and install the new belt.
5. Loosen the three screws to allow the motor bracket to apply
proper belt tension. Retighten in a clockwise order, as installed
in the machine, starting with the screw closest to the tensioner
rivet. Next tighten the screw closest to the tensioner spring.
6. Ensure that the belt is aligned by rotating the compound pulley
two or three times.
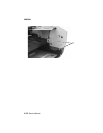
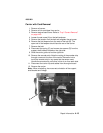
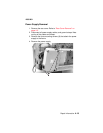
Carrier Printhead Latch Removal
1. Turn the printer off.
2. Open the front cover.
3. Move the carrier to the center.
4. Remove print cartridges from the carrier.
5. Remove the clips and washer from both sides.
6. Disconnect the pogo housing link on the right side.
7. Remove the carrier printhead latch.
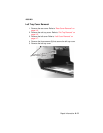
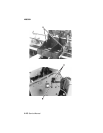
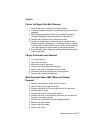
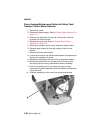
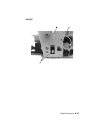
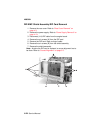
Multi-Purpose Feeder (MPF) Motor and Sensor
Removal
1. Remove multi-purpose feeder from the printer.
2. Remove the left and right end covers.
3. Remove one screw {A} from the right side of the rear cover.
4. Remove the rear cover.
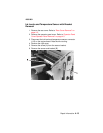
5. Depress the clips and remove the sensor.
6. Depress the clips on the electrical connector and remove the
connector from gear bracket.
7. Remove the three screws {B} from the gear bracket.
8. Remove the gear bracket.
9. Remove the two screws.
10. Remove the motor.