19
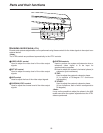
Editing operation area
<
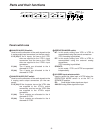
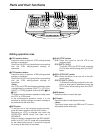
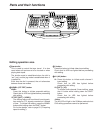
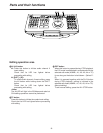
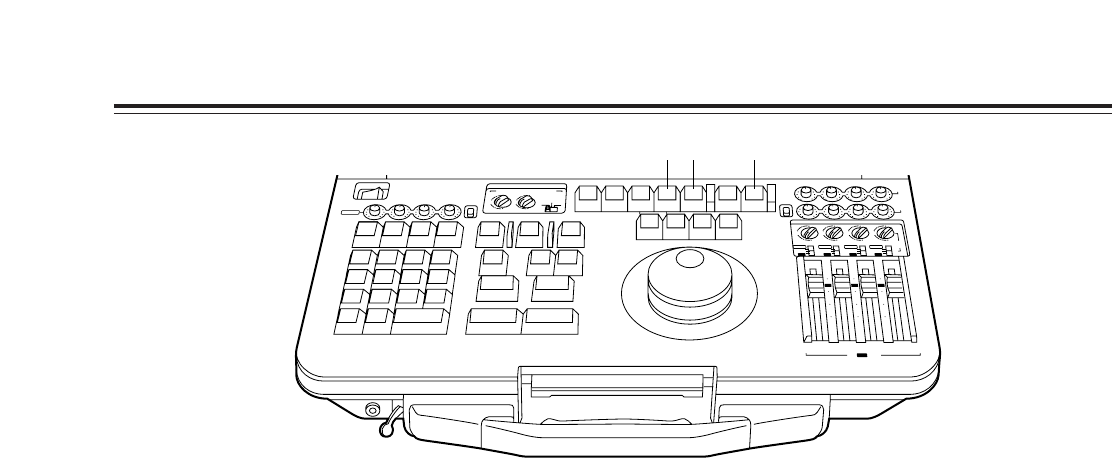
A2 (A4) button
A2
: Press this button to initiate audio channel 2
insert editing.
Check that its LED has lighted before
proceeding with editing.
A4 ([SHIFT] + [A2])
:
To initiate audio channel 4 insert editing, press
the A2 button while holding down the SHIFT
button.
Check that its LED has lighted before
proceeding with editing.
<Note>
The A4 LED will light in the 25 Mbps mode also but
CH4 editing operations cannot be performed.
=
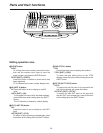
TC button
Press this button to initiate time code insert editing.
Check that its LED has lighted before proceeding
with editing.
>
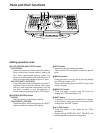
EDIT button
When this button is pressed during VTR2 playback,
the E-E mode is established in accordance with the
selected edit mode (ASMBL, A1, A2, A3, A4 or TC)
for as along as the button is held down. (Select E-
E)
When it is pressed together with the PLAY button
during VTR2 playback, editing is initiated in the
selected edit mode (ASMBL, A1, A2, A3, A4 or TC).
(Manual editing)
To exit manual editing, press the ALL STOP button.
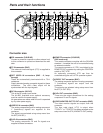
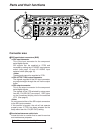
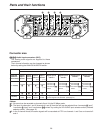
Parts and their functions
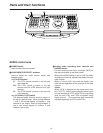
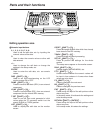
AUDIO MONITOR SELECT
LR
CH 1
4
1
3
MIX
ANALOG
MIX
2
UNI
V2
PB
SDI
REC
VAR
CH 2 CH 3 CH 4
CH 3 4
4
(V1·2)
V1 V2
1
3
MIX
MIX
2
4
1
3
MIX
MIX
A
S
M
B
L
VA
1
A
2
1
S
T
E
D
IT
P
R
E
V
IE
W
V
T
R
2
V
T
R
1
S
P
L
IT
M
A
R
K
O
U
T
M
A
R
K
IN
S
H
IF
T
E
N
T
E
R
A
L
L
S
T
O
P
R
E
V
IE
W
A
U
T
O
E
D
I
T
M
U
L
T
I
G
O
T
O
G
O
T
O
O
U
T
D
U
R
T
O
T
A
L
O
U
T
L
A
S
T
E
D
IN
L
A
S
T
X
E
V
E
N
T
789
45
6
12
0C
3
~
-
+
D
E
L
E
T
E
S
E
T
U
P
F
/T
C
D
IA
G
L
IS
T
C
O
R
C
T
B
S
T
R
A
C
K
D
U
M
P
L
O
A
D
F
S
D
IS
P
E
X
IT
R
E
T
U
R
N
T
S
E
T
P
L
A
Y
S
T
O
P
S
T
IL
L
R
E
W
F
F
S
T
B
O
F
F
A
3A4
T
CR
E
C
E
D
IT
2
4
1
3
MIX
MIX
2
4
1
3
MIX
MIX
2
4
1
3
MIX
MIX
2
SDI
CH 1 CH 2
V2
/ V1 PB
REC
CH 3 CH 4
INT
ANALOG
SDI
10
10
20
30
00
INT
INT
ANALOG
SDI
INT
ANALOG
SDI
V2
INPUT
INT
0
10
10
20
30
00
0
10
10
20
30
00
0
CH 1
POWER
OFF
ON
UNI
VAR
CH 2 CH 3 CH 4
ANALOG
V1/V2
REC
< = >


