64
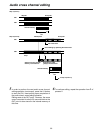
AUDIO MONITOR SELECT
LR
CH 1
4
1
3
MIX
ANALOG
MIX
2
UNI
V2
PB
SDI
REC
VAR
CH 2 CH 3 CH 4
CH 3 4
4
(V1·2)
V1 V2
1
3
MIX
MIX
2
4
1
3
MIX
MIX
A
S
M
B
L
VA
1
A
2
1
S
T
E
D
IT
P
R
E
V
IE
W
V
T
R
2
V
T
R
1
S
P
L
IT
M
A
R
K
O
U
T
M
A
R
K
IN
S
H
I
F
T
E
N
T
E
R
A
L
L
S
T
O
P
R
E
V
IE
W
A
U
T
O
E
D
IT
M
U
L
T
I
G
O
T
O
G
O
T
O
O
U
T
D
U
R
T
O
T
A
L
O
U
T
L
A
S
T
E
D
IN
L
A
S
T
X
E
V
E
N
T
789
456
12
0C
3
~
-
+
D
E
L
E
T
E
S
E
T
U
P
F
/T
C
D
IA
G
L
IS
T
C
O
R
C
T
B
S
T
R
A
C
K
D
U
M
P
L
O
A
D
F
S
D
IS
P
E
X
IT
R
E
T
U
R
N
T
S
E
T
P
L
A
Y
S
T
O
P
S
T
IL
L
R
E
W
F
F
S
T
B
O
F
F
A
3A
4
T
CR
E
C
E
D
IT
2
4
1
3
MIX
MIX
2
4
1
3
MIX
MIX
2
4
1
3
MIX
MIX
2
SDI
CH 1 CH 2
V2
/ V1 PB
REC
CH 3 CH 4
INT
ANALOG
SDI
10
10
20
30
00
INT
INT
ANALOG
SDI
INT
ANALOG
SDI
V2
INPUT
INT
0
10
10
20
30
00
0
10
10
20
30
00
0
CH 1
POWER
OFF
ON
UNI
VAR
CH 2 CH 3 CH 4
ANALOG
V1/V2
REC
CH 1
4
1
3
MIX
ANALOG
MIX
2
UNI
V2
PB
SDI
REC
VAR
CH 2 CH 3 CH 4
4
1
3
MIX
MIX
2
4
1
3
MIX
MIX
2
4
1
3
MIX
MIX
2
SDI
INT
ANALOG
SDI
INT
ANALOG
SDI
INT
ANALOG
SDI
V2
INPUT
INT
5
4
7<
9 ;
3
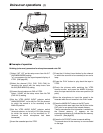
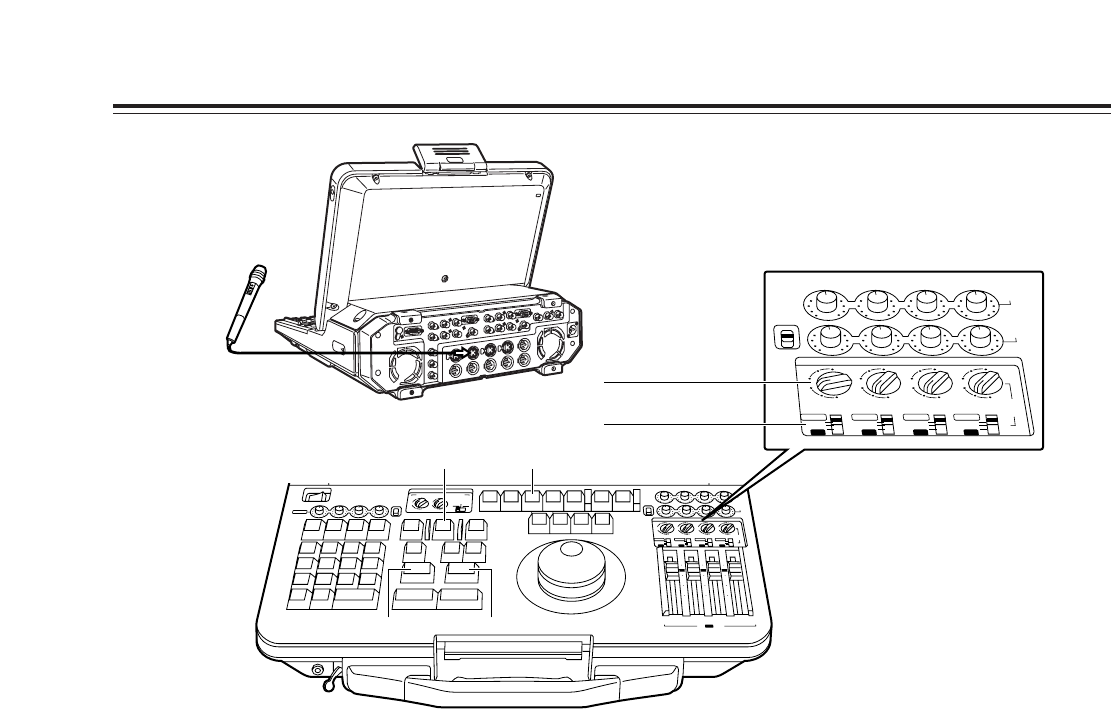
Voice-over operations
(1)
$
Example of operation
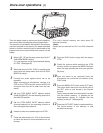
Dubbing (voice-over) procedure for microphone sound onto CH1
1
Select “INT_VO” as the setup menu item No.317
(AUD MEM MODE) setting.
“m” now appears on the superimposed display of
VTR2. (See page 85)
2
Select the channel (CH1, CH2, CH3, CH4) for
recording the sound with the setup menu item
No.318 (AUD MEM CH) setting.
3
Connect the microphone to CH2 of VTR2.
Select “–60dB” as the setup menu item No.702
(CH2 IN LV) setting.
4
Set the VTR2 AUDIO INPUT selector switch
(ANALOG/SDI/INT, on far left) for CH1 (the channel
on which the sound is to be recorded) to the
ANALOG position.
5
Set the VTR2 AUDIO INPUT selector switch
(channel selector, on far left) of CH1 (the channel
on which the sound is to be recorded) to “2”
(channel to which microphone has been
connected).
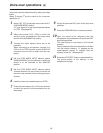
6
Insert the cassette tape into VTR2.
7
Press the A1 button (insert button for the channel
on which the sound is to be recorded) to turn on its
lamp.
8
Press the PLAY button to play back the tape in
VTR2.
9
Check the pictures while watching the VTR2
monitor screen, and press the MARK IN button
when the tape reaches the voice-over position (IN
point).
:
Use the microphone to input the sound to be
recorded while the unit remains in the PLAY mode.
;
Press the MARK OUT button at the OUT point.
The sound which was input from the IN point to the
OUT point is now stored in the internal memory.
Twenty seconds after this information is written into
the internal memory, “o” appears on the
superimposed display to indicate that the memory
is now full. (See page 85)
<
Press the AUTO EDIT button to execute editing.
The sound stored in the memory is now recorded
on the tape.
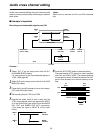
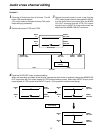
Select “2.”
Select ANALOG.


