


Chapter 2: Installation and Configuration
29
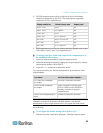
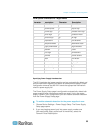
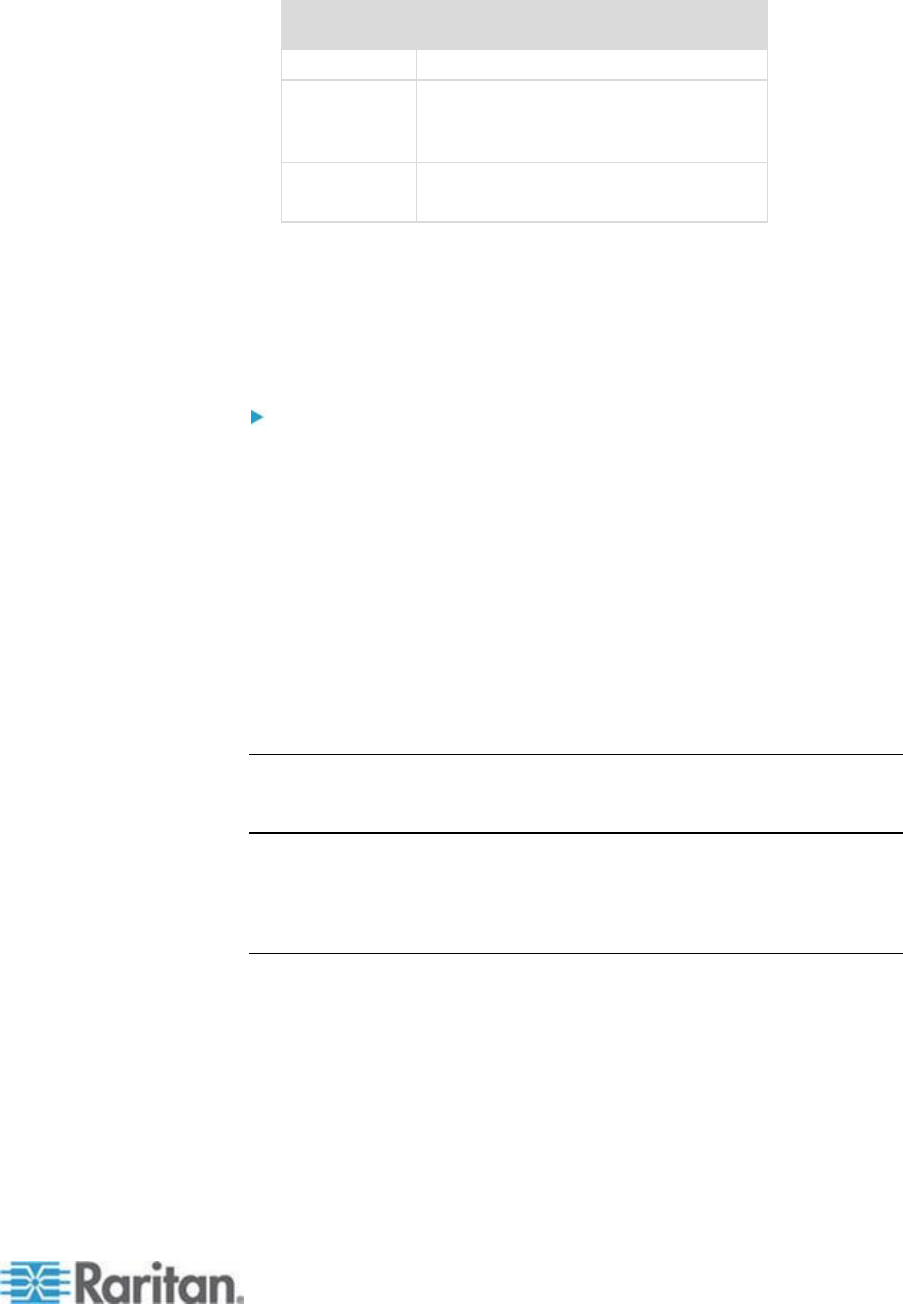
Connection
Description
port.
Keyboard
Attach a standard USB keyboard to
one of the USB Type A (female)
ports.
Mouse
Attach a standard USB mouse to one
of the USB Type A (female) ports.
E. Target Server Ports
The KX II uses standard UTP cabling (Cat5/5e/6) to connect to each
target server.
To connect a target server to the KX II:
1. Use the appropriate Computer Interface Module (CIM). See
Supported CIMs and Operating Systems (Target Servers) for more
information about the CIMs to use with each operating system.
2. Attach the HD15 video connector of your CIM to the video port of
your target server. Ensure that your target server's video has already
been configured to a supported resolution and refresh rate. For Sun
servers, also ensure that your target server's video card has been
set to output standard VGA (H-and-V sync) and not composite sync.
3. Attach the keyboard/mouse connector of your CIM to the
corresponding ports on your target server. Using a standard
straight-through UTP (Cat5/5e/6) cable, connect the CIM to an
available server port on the back of your KX II device.
Note: The DCIM-USB G2 provides a small slide switch on the back of the
CIM. Move the switch to P for PC-based USB target servers. Move the
switch to S for Sun USB target servers.
A new switch position takes effect only after the CIM is power-cycled. To
power-cycle the CIM, remove the USB connector from the target server
and plug it back in a few seconds later.
Step 4: Configure the KX II
The first time you power up the KX II device, there is some initial
configuration that you need to perform through the KX II Local Console:
Change the default password.
Assign the IP address.
Name the KVM target servers.