Chapter 4 Maintaining the Sun Fire V40z Server 4-39
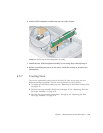
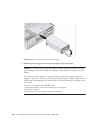
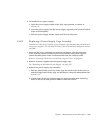
3. To install the new power supply:
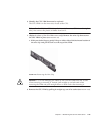
a. Open the power-supply handle to the fully open position, as shown in
FIGURE 4-26.
b. Insert the power supply into the power-supply cage and push it inward until it
stops at the backplane.
c. Push the power-supply handle closed until it locks into place.
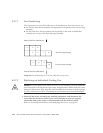
4.5.8.2 Replacing a Power-Supply Cage Assembly
The Sun Fire V40z server contains a power-supply cage assembly that can hold up to
two power supplies. The assembly includes a power distribution backplane and an
air baffle.
1. Power off the server, including any attached peripherals, and disconnect the
server from the electrical outlet. If your server includes two power supplies,
ensure that both power cords are disconnected from the electrical outlet.
Refer to “Powering Off the Server and Removing the Cover” on page 4-2.
2. Remove all power supplies from the power-supply cage.
See “Replacing an Individual Power Supply” on page 4-37.
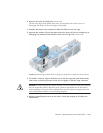
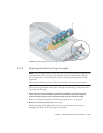
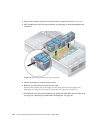
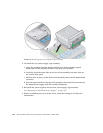
3. Remove the power-supply cage assembly:
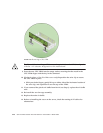
a. Pull the metal handle on the top of the cage toward the front of the server so
that the hinged cams lift the cage and disconnect it from the motherboard (see
FIGURE 4-27).
b. Lift the front of the cage and disengage its metal tabs from their mounting
holes on the server back panel to remove it from the chassis.


