


3-30 Sun Fire V20z and Sun Fire V40z Servers—User Guide • March 2005
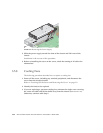
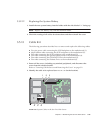
3.5.10.2 Removing a CPU VRM
1. Power off the server, including any attached peripherals, and disconnect the
server from the electrical outlet.
Refer to “Powering Off the Server and Removing the Cover” on page 3-2.
2. Identify the CPU VRM that must be replaced.
The CPU VRM is in the inner slot, closest to the CPU.
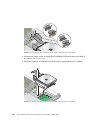
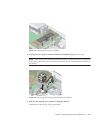
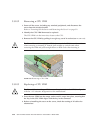
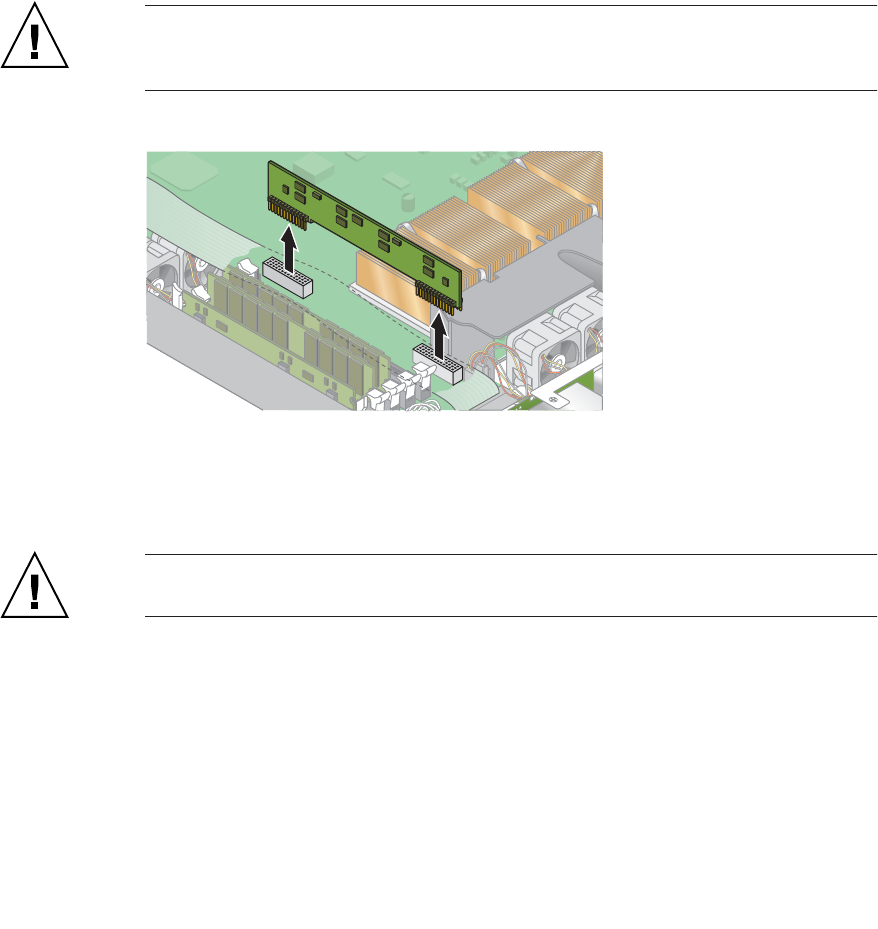
3. Remove the CPU VRM by pulling it straight up, out of its socket (see
FIGURE 3-25).
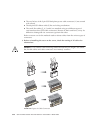
Caution – To avoid damaging the VRM, do not rock the VRM from side to side
when removing or inserting it. Instead, pull straight up on both ends when
removing the VRM and push straight down on both ends when inserting it.
FIGURE 3-25 Removing a CPU VRM
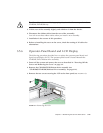
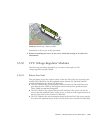
3.5.10.3 Replacing a CPU VRM
Caution – When installing a VRM, ensure that pin “A1”, on the VRM, is aligned
with the “A1” reference designation on the motherboard.
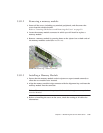
1. Press the new VRM into the empty socket until it snaps into place, ensuring that
the key in the CPU VRM aligns with the key in the connector.
2. Before re-installing the cover on the server, check the routing of all cables for
obstructions.