6-16
EM18-33010A
6. DIAG. TEST OPERATION
NOTES: 1. Holding the [FEED] key or [RESTART] key down for more than 0.5 seconds enables
a fast forward.
2. Max. fine adjustment
±
50.0 mm = Key fine adjustment value (
±
50.0 mm) + PC fine
adjustment value (
±
50.0 mm)
When the value reaches the maximum, the value remains unchanged even if a
subsequent fine adjustment is performed.
3. A changed cut/strip position value is stored in memory by pressing the [PAUSE] key.
4. When using label with length of less than 38 mm, calculate the cut position fine
adjustment value using the expression provided on page 6-19.
■ [FEED] key: Pressing the [FEED] key one time
is a -0.5 mm change, up to -50.0
mm. (See NOTE 2.)
■ [RESTART] key: Pressing the [RESTART] key one
time is a +0.5 mm change, up to
+50.0 mm. (See NOTE 2.)
(Revision Date Jan. 13, ’95)
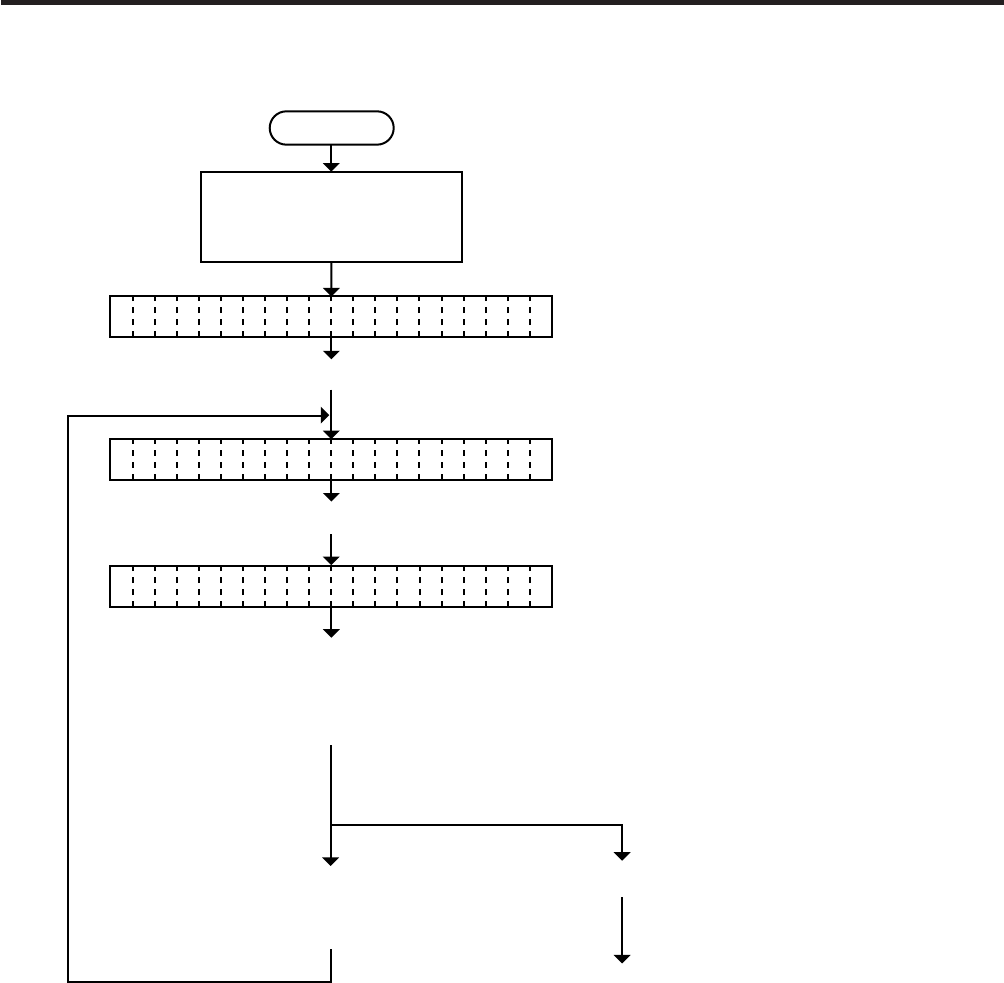
6.3 PARAMETER SETTING MODE
6.3.2 Cut/Strip Position Fine Adjustment
<
1 DIAGNOSTIC V1.0A
>
<
2 PARAMETER SET
>
C
U ADJUST +0.0mmT
Power off
Turn on the power while
holding down the [FEED]
key and [PAUSE] key.
Press the [FEED] key.
Press the [PAUSE] key twice.
Press the [FEED] or
[RESTART] key to adjust
the feed length.
(See NOTE 1.)
Press the [FEED] key
and [RESTART] key
at the same time.
Press the [PAUSE] key.
Continued on Section 6.3.3
Back feed length fine adjutment.


