74 P640i Card Printer User Guide 980541-001 Rev. A
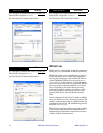
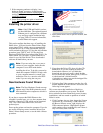
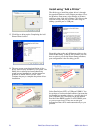
3. If the computer continues to display “new
hardware found” messages, disable them by
choosing Install the software automatically
, then
waiting for Windows to respond with Cannot
install this hardware.
4. Select Don’t prompt me again to install this
hardware, then click Finish.
Installing the printer driver
This section outlines the three ways of installing the
P640i driver: 1) Direct from the Zebra Printer Setup
screen (page TN9-3, which comes up automatically
from the Driver CD, or from downloaded software,
see Download on this page; 2) Using the Add a Printer
procedure (page TN9-5), and; 3) Using the New
Hardware Found Wizard procedure (page TN9-2). No
matter which way you select, or allow Windows to
select for you, have the Driver CD or downloaded
software on hand before you start.
New Hardware Found Wizard
If you plan to connect the P640i Printer to the
computer’s parallel port, shut down the computer, then
make the connection. USB, which can be connected
“hot”, has a faster data transfer rate, and is the
preferred port.
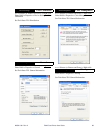
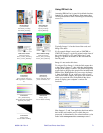
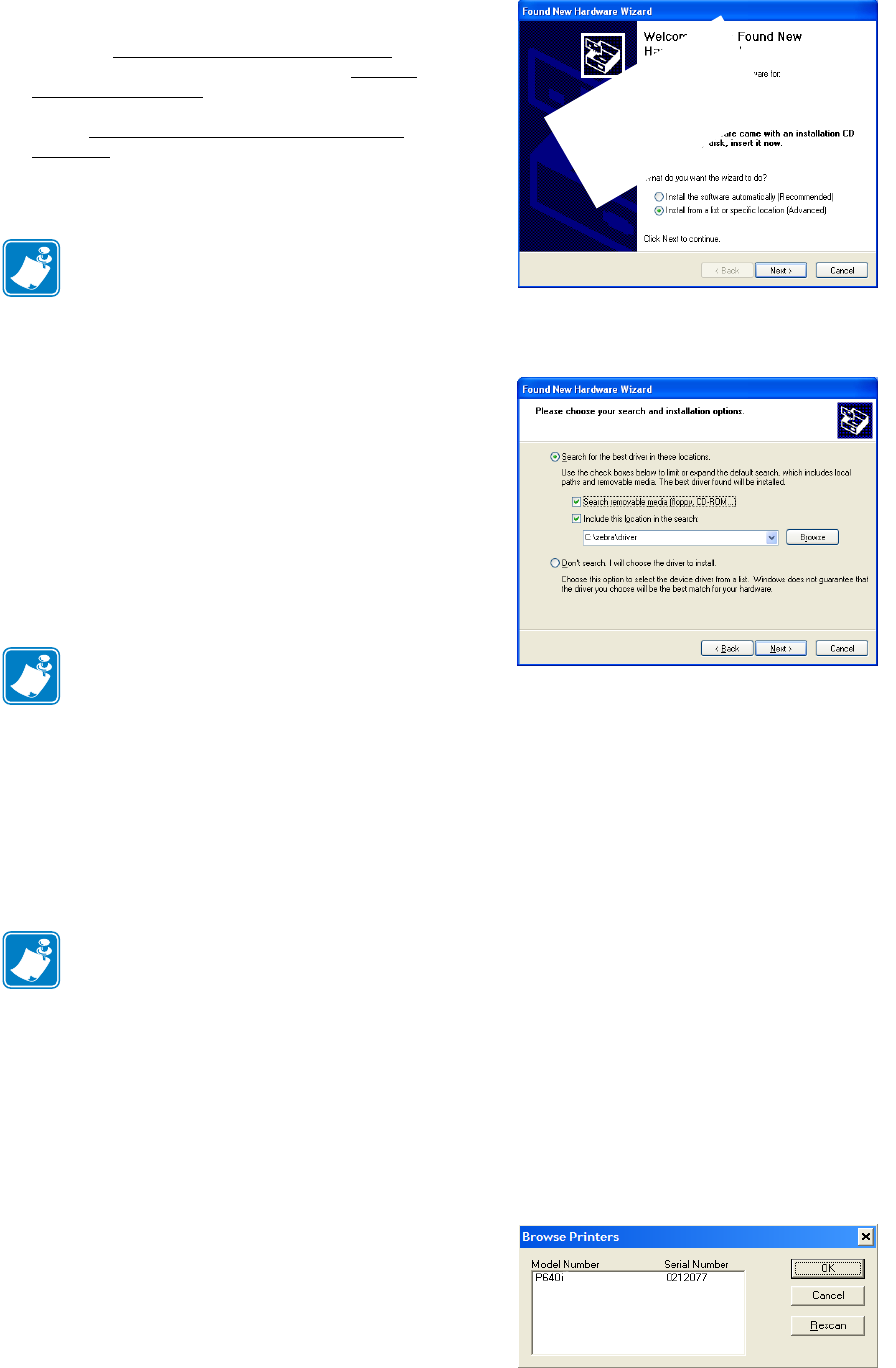
Power up the printer and start the computer. If you do
not see the following screen, install the driver from
Zebra’s Printer Setup screen, or use the Add a Printer
procedure .
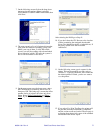
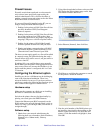
1. Select Install from a list or specific location, then
click Next.
2. If you have the Driver CD, place it in the CD-
ROM drive. If you are working instead with
downloaded software (or if you think the
download may be more recent), check Include
this location in the search, then type in (or browse
to) the download’s default location,
c:\zebra\driver, unless you sent the unzipped files
somewhere else. Click Next.
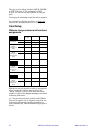
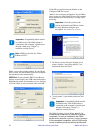
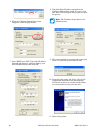
3. Following Step 2 the computer searches for a file
named Atlprint.inf. If the search is successful, the
following screen appears.
This screen warns that installation of the driver
software may destabilize your system. The P640i
driver software has been exhaustively tested in many
installations, and has caused no problems of which
Zebra is aware.
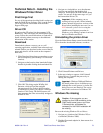
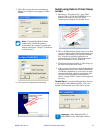
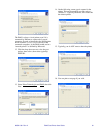
4. Click Continue Anyway, then Accept the License
Agreement. If you are using a USB connection,
the Browse Printers screen, right, displays the
USB-connected printers. Highlight the printer
serial number you are working on (even if there is
only one listed), then click OK.
Note • Only USB and Parallel versions
are described here. The optional internal
Ethernet port is configured in a different
way, and may require technician help,
see page TN9-6. For more information,
contact Zebra tech support.
Note • If you are using the parallel port to
connect to your computer, make sure the
computer is set to ECP mode before
installing the driver. To do this you need to
check the computer’s BIOS. For help, refer
to your computer manual or consult your
technician. You do
not need to select ECP
mode if you are using the
USB port.
Note • The New Hardware Found message
appears only if the P640i printer has never
been installed on the computer to which it is
now connected.
I
n
s
t
a
l
l
a
t
i
o
n
t
h
r
o
u
g
h
N
e
w
H
a
r
d
w
a
r
e
F
o
u
n
d
B
e
g
i
n
s
h
e
r
e


