


76 P640i Card Printer User Guide 980541-001 Rev. A
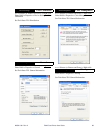
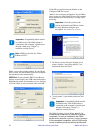
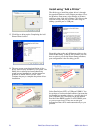
Make a note of the port designation. If you OK the
above screen, the Add Printer Wizard will complete
the installation semi-automatically.
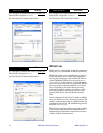
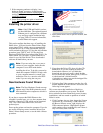
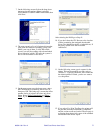
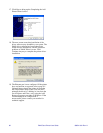
USB Port: If you selected USB Port, the Browse
Printers screen displays the USB-connected printers.
Highlight the printer serial number you are working
on (even if there is only one listed), then click OK.
Click OK to accept the timeout defaults on the
Configure USB Port screen.
.Make a note of the port designation. If you OK the
above screen, the Add Printer Wizard will complete
the installation semi-automatically, see Step 6 and
following.
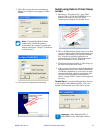
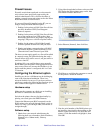
5. On the next screen select the default, Local
printer, with the “Auto Plug and Play” box
unchecked, then click Next.
6. “Local printer” is the default selection.Click
Next.
The P640i is always a Local Printer even if it is
connected by Ethernet to a network of several
computers. In such an installation the P640i
printer driver would be separately installed on each
of the connected computers, so the P640i would
not be a network printer as defined by Microsoft
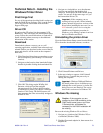
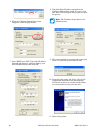
Important • Compatibility Mode should
be enabled only if the P640i printer is
connected to the computer’s parallel port
through a third party “dongle” (a
hardware security device)
Note • PHID1 is the alias for “Zebra
Enhanced LPT1”.
Important • From this point on, the
screens for Parallel and USB are similar,
the only difference being the port
description.
Only USB screens are shown.
Important • Compatibility Mode should
be enabled only if the P640i printer is
connected to the computer’s parallel port
through a third party “dongle” (a
hardware security device)