GT-782
7. Troubleshooting
85
7-2-2. Cleaning the Print Heads
Your printer automatically cleans its Print Heads every 24 prints (you can change the frequency; see “7-2-5. Changing the
Auto Head Cleaning Setting”), or when your printer has not been used for more than two hours. The auto-cleaning starts
when you press the Print Button in these situations. However, the auto-cleaning may not be enough and cannot solve print
quality problems (e.g. stripes/ banding appears on the printed image). Please do the "manual" head cleaning.
Using the Head Cleaning Button
(1) Make sure your printer is either Standby or Ready mode.
(2) Press the Head Cleaning Button.
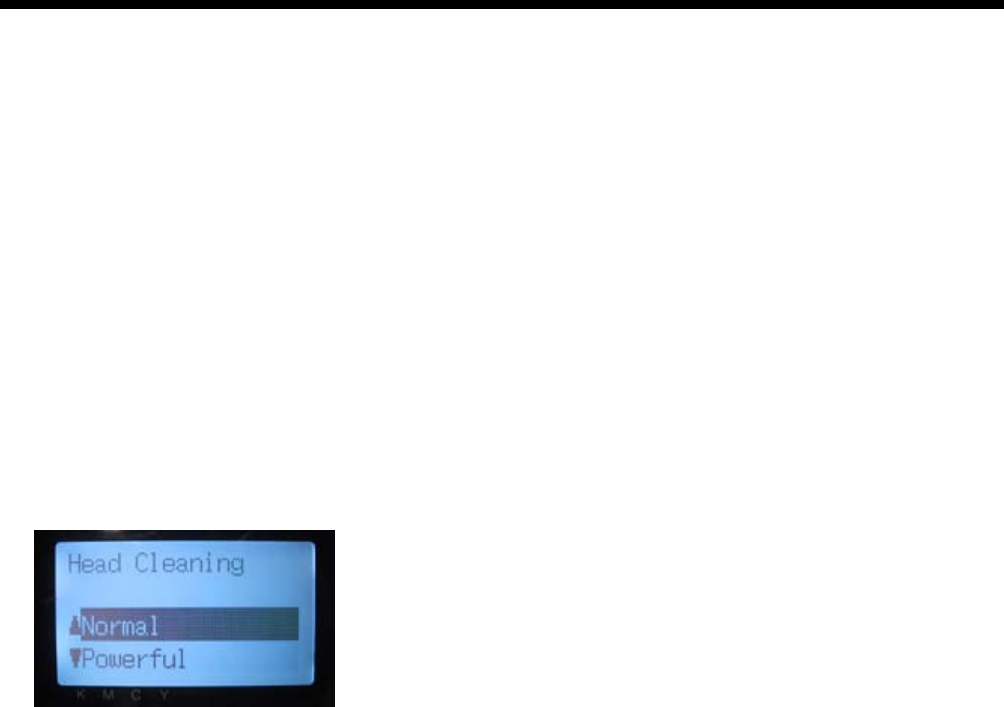
The message “Head Cleaning…” appears and your printer starts "Normal" head cleaning.
(Press the Stop Button to cancel cleaning.)
The message changes to “Stand By” or “Ready” when the head cleaning has been completed.
Normal/ Powerful/ Initial Head Cleaning
(1) Make sure your printer is either Standby or Ready mode.
(2) Press the OK Button to display the Menu Display.
(3) Press the Up/Down Button to select “Head Cleaning”, and then press the OK Button.
(4) Press the Up/Down Button to select the mode (Normal/Powerful), and then press the OK Button. Select "Normal" or
"Powerful" by the steps shown in "7-2-1. Procedure for Solving the Print Quality Problems". After a long storage, or when
you find ink tubes have "empty air" space inside, try "Initial" head cleaning first to replace all the ink inside the tube. Select
"Initial Cleaning" in "Maintenance" menu and execute Initial Head Cleaning.
(5) Press the Up/Down Button to select which Print Head (color) to clean (can select “All Colors” for Normal mode), and then
press the OK Button.
The message “Head Cleaning…” appears and your printer starts cleaning the Print Heads.
The message changes to “Stand By” when the head cleaning has been completed.
<Note>
The “Initial” cleaning cannot be done with the Waste Ink Cartridge is full. Confirm
in advance the amount of the Waste Ink
when you do the maintenance. (see “6-1-4. Waste Ink Disposal.”)
7-2-3. Checking Print Quality with Nozzle Check Pattern
You can identify which Print Head has the problem by using the Nozzle Check Pattern. Do when some white lines can be
seen in the print data or white is not white enough.
<Note>
If the Platen Positioning Plate and Bush Platen Shaft are replaced to the GT-541's, put something flat under the paper or
try Uni-Directional Printing, or put them back to the original GT-782 parts.
When you check the White print quality, use colored paper, plastic plate, etc.
(1) Install the Platen 14 x 16 (see “4-4. Uninstalling / Installing the Platen”).
(2) Set the Platen height to the “A” position (see “4-5. Placing the T-shirt on the Platen”).
(Continued on the next page)


