


12-31
Cisco ASA 5500 Series Configuration Guide using ASDM
Chapter 12 Starting Interface Configuration (ASA 5510 and Higher)
Starting Interface Configuration (ASA 5510 and Higher)
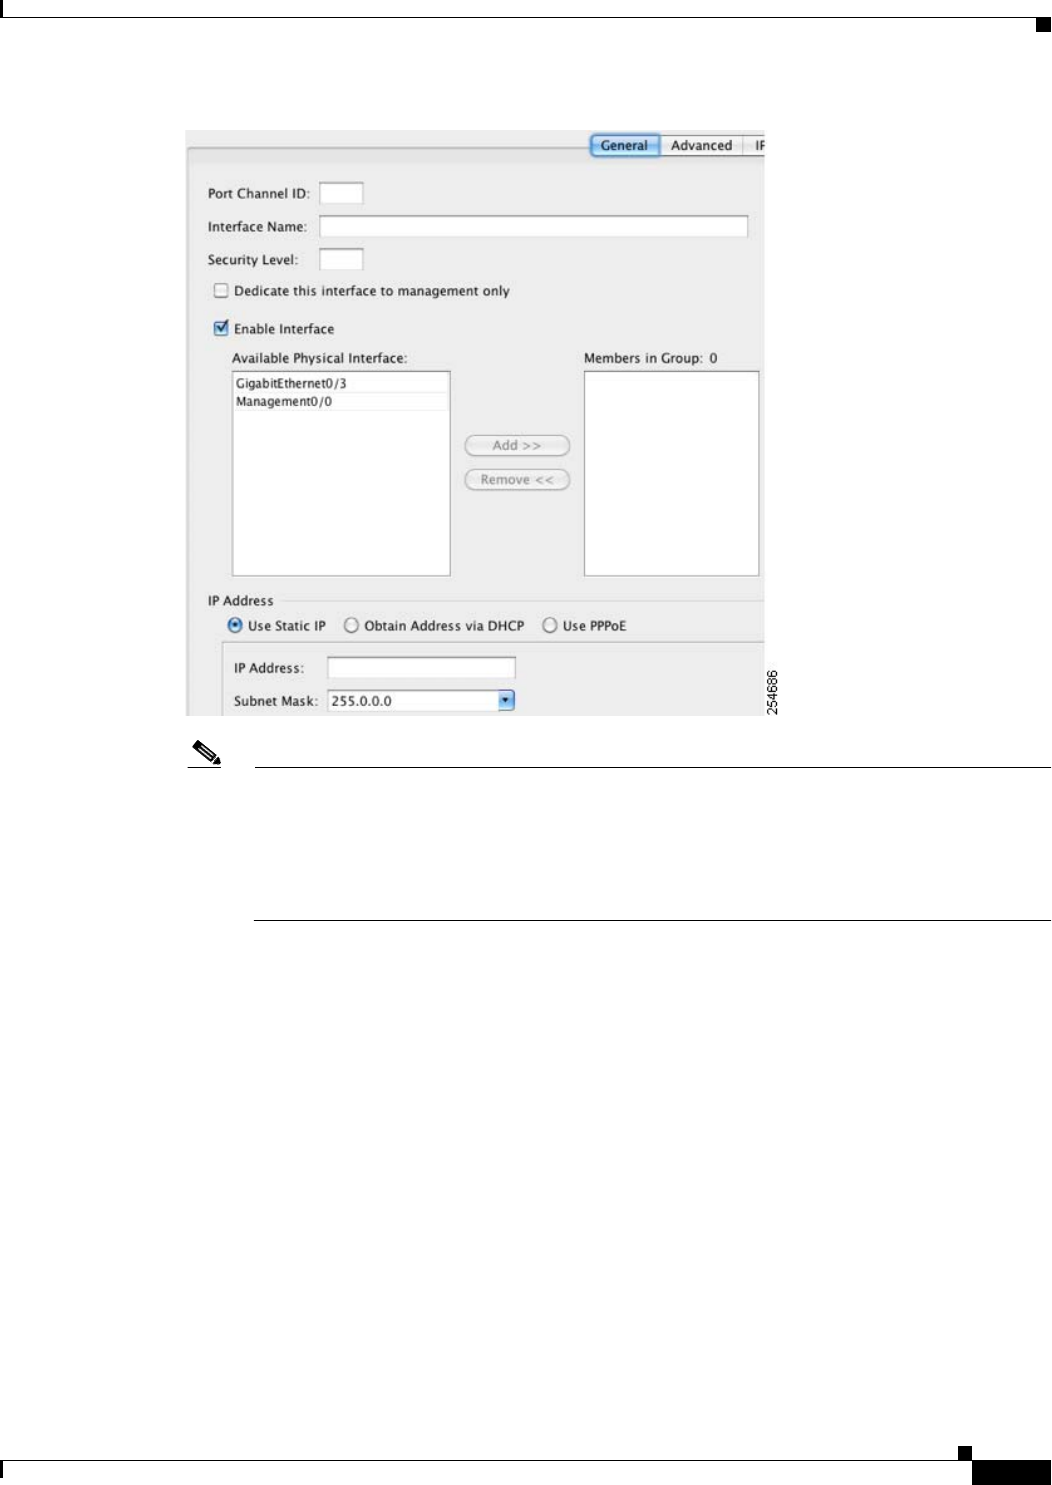
Note In single mode, this procedure only covers a subset of the parameters on the Edit EtherChannel
Interface dialog box; to configure other parameters, see Chapter 14, “Completing Interface
Configuration (Routed Mode),” or Chapter 15, “Completing Interface Configuration
(Transparent Mode, 8.4 and Later).” Note that in multiple context mode, before you complete
your interface configuration, you need to allocate interfaces to contexts. See the “Configuring
Multiple Contexts” section on page 11-14.
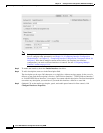
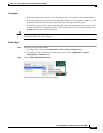
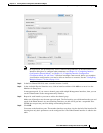
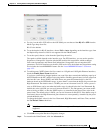
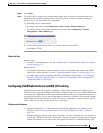
Step 3 In the Port Channel ID field, enter a number between 1 and 48.
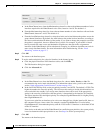
Step 4 In the Available Physical Interface area, click an interface and then click Add >> to move it to the
Members in Group area.
In transparent mode, if you create a channel group with multiple Management interfaces, then you can
use this EtherChannel as the management-only interface.
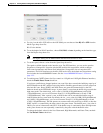
Step 5 Repeat for each interface you want to add to the channel group.
Make sure all interfaces are the same type and speed. The first interface you add determines the type and
speed of the EtherChannel. Any non-matching interfaces you add will be put into a suspended state.
ASDM does not prevent you from adding non-matching interfaces.
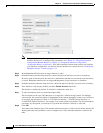
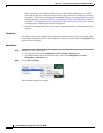
Step 6 Click OK.
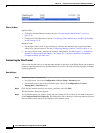
You return to the Interfaces pane. The member interfaces now show a lock to the left of the interface ID
showing that only basic parameters can be configured for it. The EtherChannel interface is added to the
table.