


7-13
Cisco ASR 1001-X Router Hardware Installation Guide
OL-32376-02
Chapter 7 Removing and Replacing FRUs from the Cisco ASR 1001-X Router
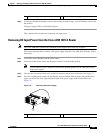
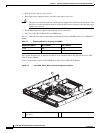
Removing and Replacing the Cisco ASR 1001-X Router DIMM
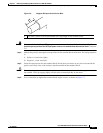
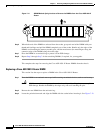
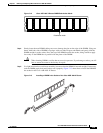
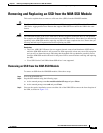
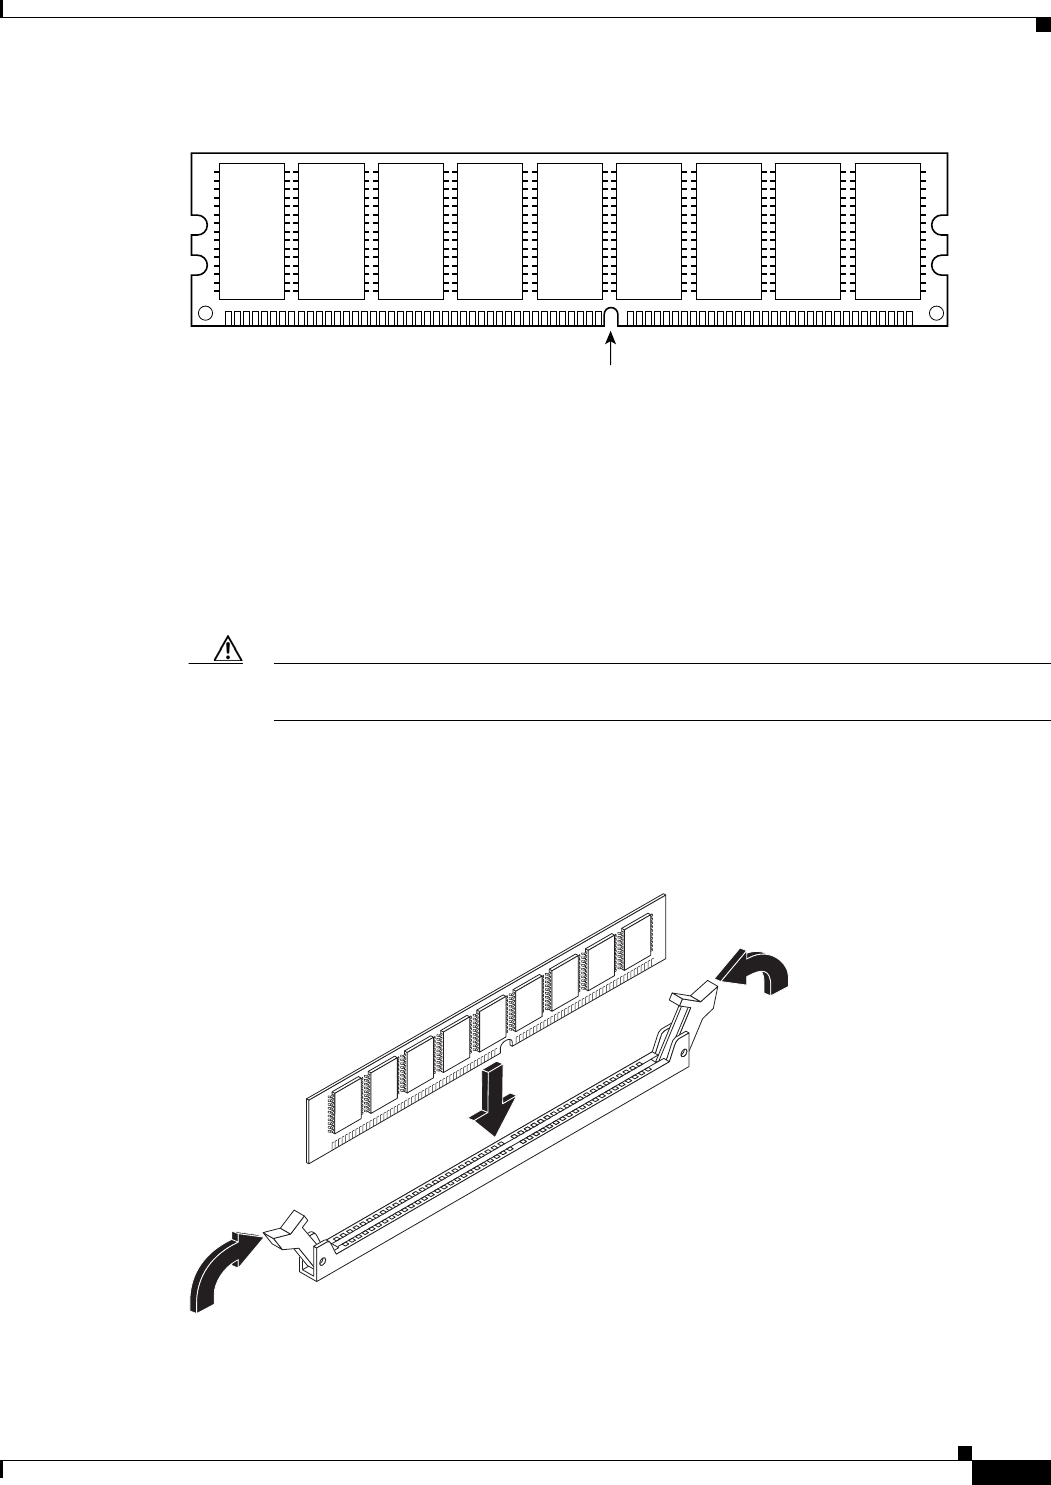
Figure 7-12 Cisco ASR 1001-X Router DIMM Polarization Notch
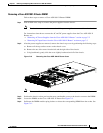
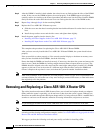
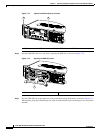
Step 4 Gently insert the new DIMM, taking care not to damage the pins on the edge of the DIMM. Using two
hands, hold both sides of DIMM’s top edges with your index fingers and thumbs and gently slide the
DIMM straight in to the socket. Press the top of the DIMM towards the socket, being careful to apply
force only on the DIMM that is parallel with the plane of the DIMM.
Caution When inserting DIMMs, use firm but not excessive pressure. If you damage a socket, you will
have to return the router to the factory for repair.
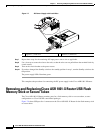
Step 5 Use light insertion force and insert smoothly, but ensure that the DIMM is inserted straight. If necessary,
rock the DIMM gently back and forth to seat it properly. Figure 7-13 shows how to install the DIMM in
the socket for the Cisco ASR 1001-X Router.
Figure 7-13 Installing a DIMM in the Socket of the Cisco ASR 1001-X Router
Polarization notch
103362
250946