


4-7
Cisco ASR 1001-X Router Hardware Installation Guide
OL-32376-02
Chapter 4 Cisco ASR 1001-X Router Installation
General Guidelines for Rack Installation
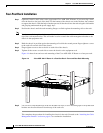
Step 7 Hold the chassis in position against the mounting rails in the equipment rack and follow these steps:
a. Insert the bottom screw into the second hole up from the bottom of the rack-mount ear and use a
hand-held screwdriver to tighten the screw to the rack rail.
Tip To make installation easier, insert one screw at the bottom of the chassis and the next screw at
the top of the chassis diagonally from the first screw.
b. Insert the top screw into the second hole from the top of the rack-mount ear diagonally from the
bottom screw and tighten the screw to the rack rail.
c. Insert the rest of the screws to secure the chassis to the rack equipment.
Step 8 Tighten all the screws on each side to secure the chassis to the equipment rack.
Note Inner clearance (the width between the inner sides of the two posts or rails) must be at least 19 inches
(48.26 cm). The height of the chassis is 1.71 inches (4.34 cm). Airflow through the chassis is from front
to back.
This completes the procedure for installing the chassis on a two-post rack. Proceed to the “Attaching a
Chassis Ground Connection” section on page 4-10 to continue the installation.
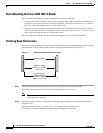
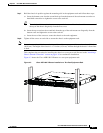
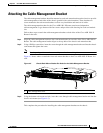
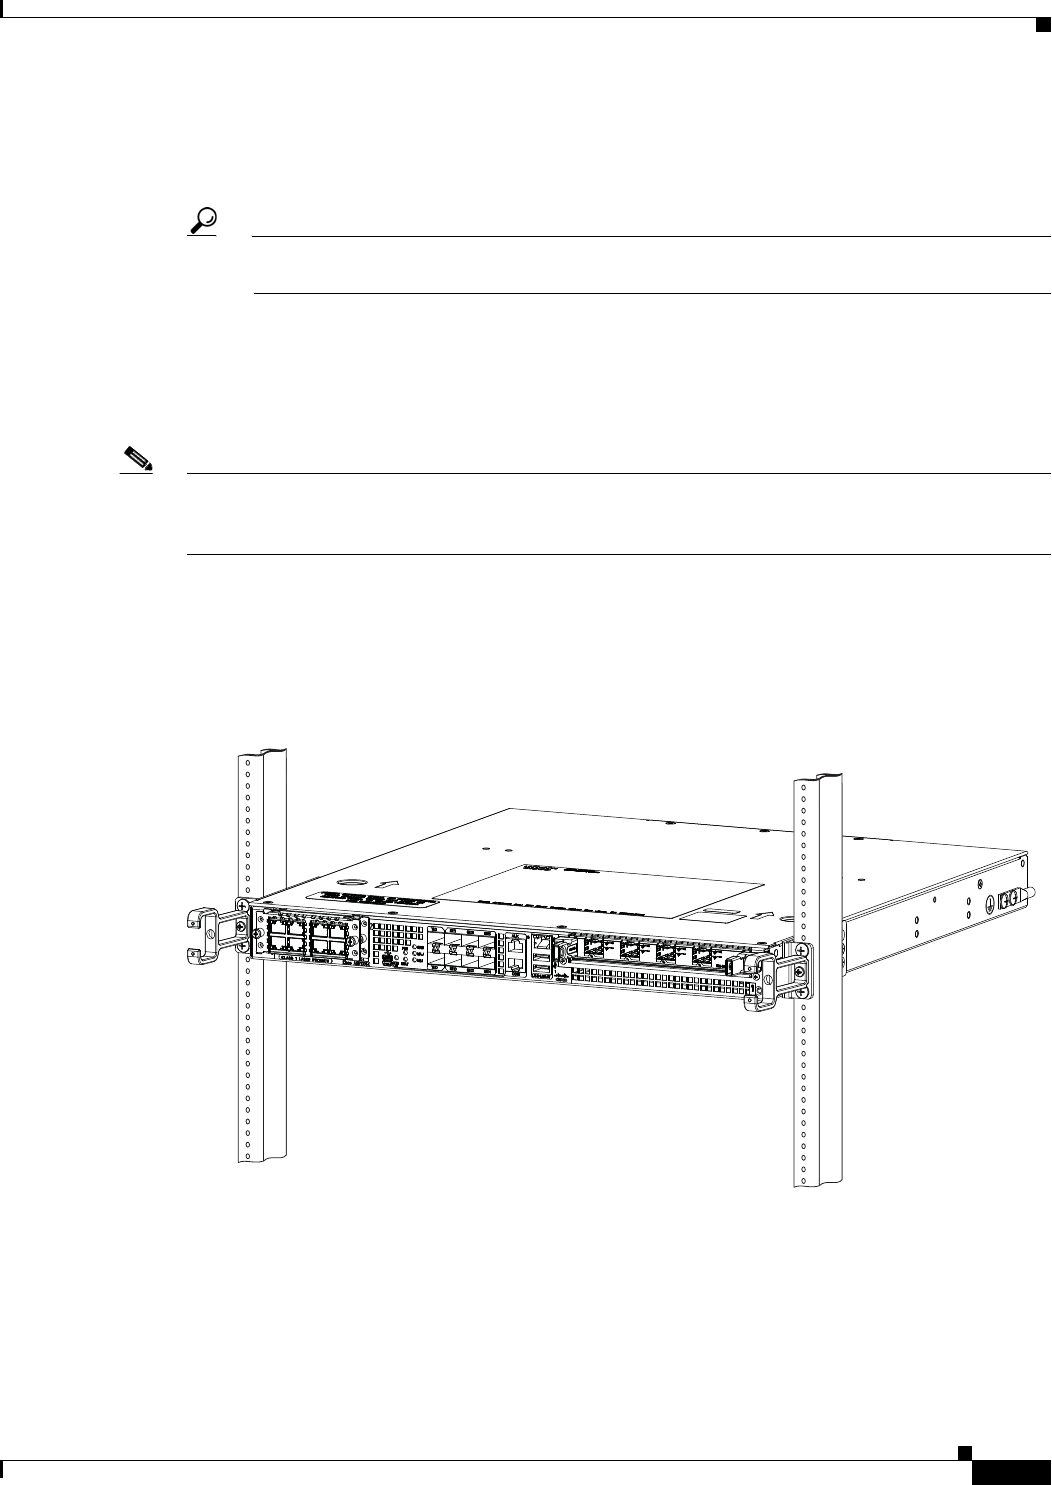
Figure 4-3 shows the Cisco ASR 1001-X Router on a two-post equipment rack.
Figure 4-3 Cisco ASR 1001-X Router Installed on a Two-Post Equipment Rack
371083