


54 Print
• (For Windows Server
®
2012)
Move your mouse to the lower right corner of your desktop. When the menu bar appears, click Settings, and
then click Control Panel. In the Hardware group, click View devices and printers.
• (For Windows Server
®
2012 R2)
Click Control Panel on the Start screen. In the Hardware group, click View devices and printers.
2. Right-click the Dell MFP EXXXX icon (where XXXX is your model name), and then select Printer properties. If
printer driver options appear, select your printer driver.
3. Click the General tab, and then click the Printing Preferences... or Preferences... button.
The printer driver dialog box appears.
NOTE: To configure the tray settings, click the Device Settings tab.
NOTE: To change the printer port, click the Ports tab.
4. Click the Paper Size drop-down list, and then select User Defined.
5. Type a name for this custom size in the Custom Paper Size Name field.
6. Specify the Width and Height values.
7. Click Save.
8. Click OK.
9. Click OK.
10. Close the printer properties dialog box.
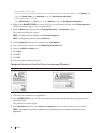
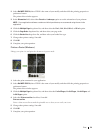
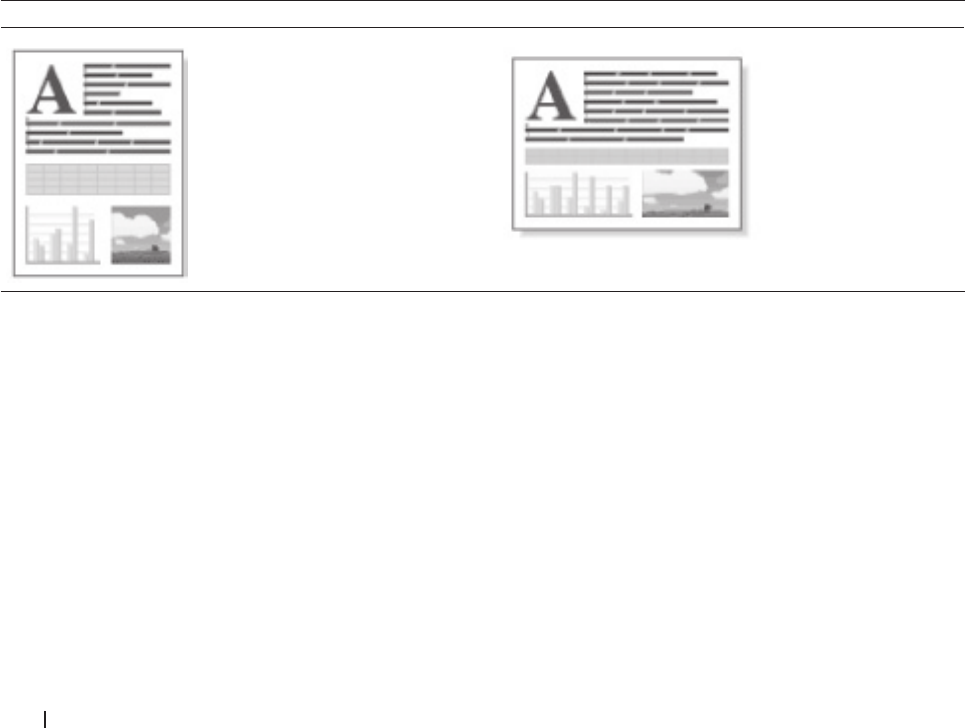
Change the Orientation of Your Print (Portrait or Landscape) (Windows
®
)
Portrait Landscape
1. Select the print command in your application.
2. Select Dell MFP EXXXX (where XXXX is the name of your model), and then click the printing properties or
preferences button.
The printer driver window appears.
3. In the Orientation field, select either Portrait or Landscape option to set the orientation of your printout.
NOTE: If your application software contains a similar layout feature, we recommend using the one in the
application.