


74 Print
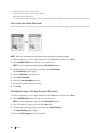
4. Select your profile from the print profile list.
The profile settings are shown on the left side of the printer driver window.
5. Do one of the following:
• If the settings are correct for your print job, click OK.
• To change the settings, go back to the Basic or Advanced tab, change settings, and then click OK.
NOTE: To display the Print Profiles tab at the front of the window the next time you print, select the Always show
Print Profiles tab first. check box.
Add a Print Profile
Add up to 20 new print profiles with customized settings.
1. Select the print command in your application.
2. Select Dell MFP EXXXX (where XXXX is the name of your model), and then click the printing properties or
preferences button.
The printer driver window appears.
3. Click the Basic tab and the Advanced tab, and configure the print settings you want for the new Print Profile.
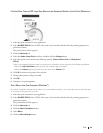
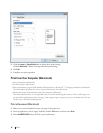
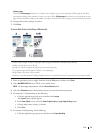
4. Click the Print Profiles tab.
5. Click Add Profile.
The Add Profile dialog box appears.
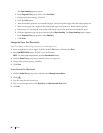
6. Type the new print profile name in the Name field.
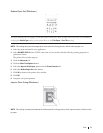
7. Click the icon you want to use to represent this profile from the icon list.
8. Click OK.
The new Print Profile name is added to the list in the Print Profiles tab.
Delete a Print Profile
1. Select the print command in your application.
2. Select Dell MFP EXXXX (where XXXX is the name of your model), and then click the printing properties or
preferences button.
The printer driver window appears.
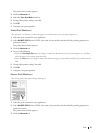
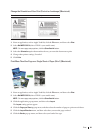
3. Click the Print Profiles tab.
4. Click Delete Profile.
The Delete Profile dialog box appears.
5. Select the profile you want to delete.
6. Click Delete.
7. Click Yes.
8. Click Close.