Basic Scanning Operation Flow (for Windows Users)
110
Scanning
Scan a document in the following procedure:
1. Load a document in the ScanSnap.
For details, refer to "How to Load Documents" (page 57).
2. Press the [Scan] button on the ScanSnap to start a scan.
D The [Scan] button on the ScanSnap flashes in blue throughout the scan.
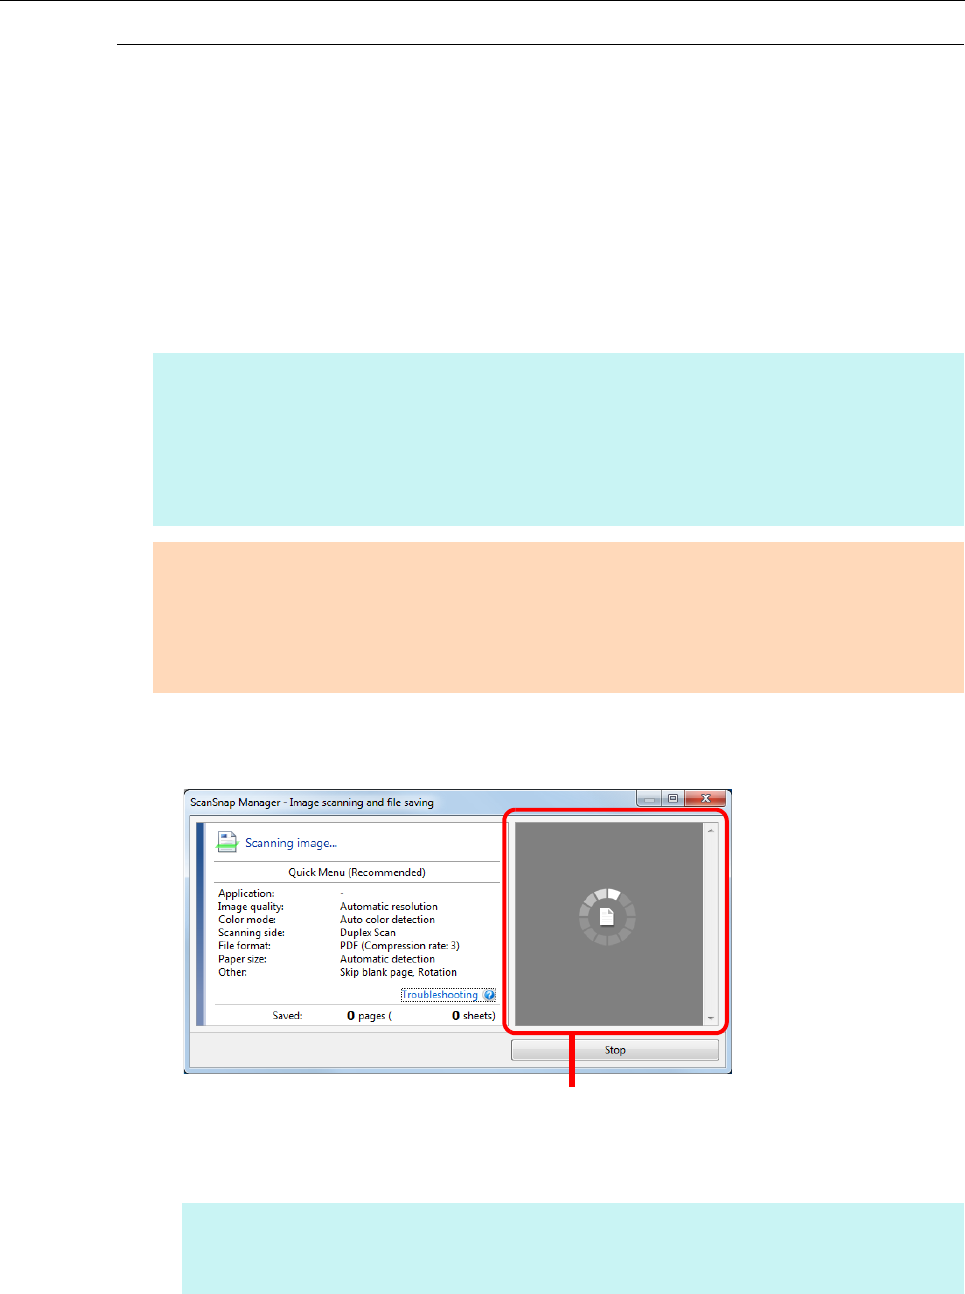
The [ScanSnap Manager - Image scanning and file saving] dialog box appears.
When you scan more than one document, the preview area will display the scanned
images in thumbnails. Up to 150 thumbnails can be displayed.
D The Quick Menu appears when the scanning is completed.
HINT
z The [Scan] button setting is [Duplex Scan (Double-sided)] in default. Note that you can switch the
[Scan] button setting to [Simplex Scan (Single-sided)] in ScanSnap Manager. For details, refer to
"Scanning Only One Side of a Document" (page 217).
z You can also start scanning from the Right-Click Menu.
For details, refer to "Right-Click Menu (Windows)" (page 34).
ATTENTION
z Do not connect or disconnect the ScanSnap and other USB devices during scanning.
z Do not close the ADF paper chute (cover) during scanning.
z Do not switch users during scanning. Doing so will cancel scanning.
z Do not allow the ScanSnap to enter into sleep mode during scanning.
HINT
Press the [Stop] button to stop scanning the document. For details, refer to "Stopping the Scan"
(page 112).
Preview


