Using ScanSnap with the Quick Menu (for Windows Users)
164
3. Click the [Scan to Evernote (Note)] icon .
D Evernote for Windows starts up, and the JPEG file is saved to Evernote.
HINT
z When you select [PDF(*.pdf)] for [File format] in the [File option] tab of the ScanSnap setup
dialog box, a JPEG file is created from a PDF file. A single JPEG file is created for each page of
the PDF file.
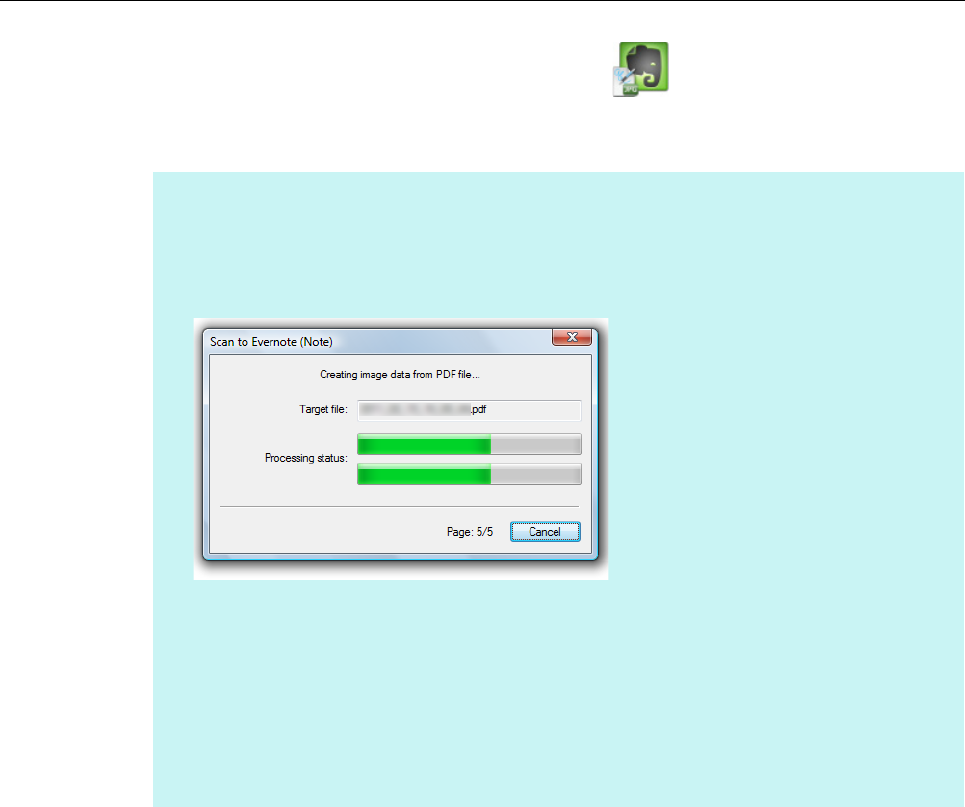
The following dialog box appears during file creation.
z When you select [PDF(*.pdf)] for [File format] in the [File option] tab of the ScanSnap setup
dialog box, a four-digit serial number is automatically added to the name of the file which is saved
to Evernote.
e.g. When the file name is [ScanSnap], the file is saved as:
ScanSnap_0001, ScanSnap_0002, ScanSnap_0003...
z The file in which the scanned image is saved remains in the folder specified for [Image saving
folder] in the [Save] tab of the ScanSnap setup dialog box even after the scanned image is saved
to Evernote. Delete this file if unnecessary.
