Chapter 3
Installing the System
Setting Up the System
106
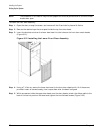
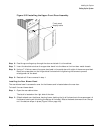
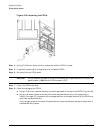
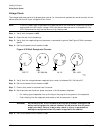
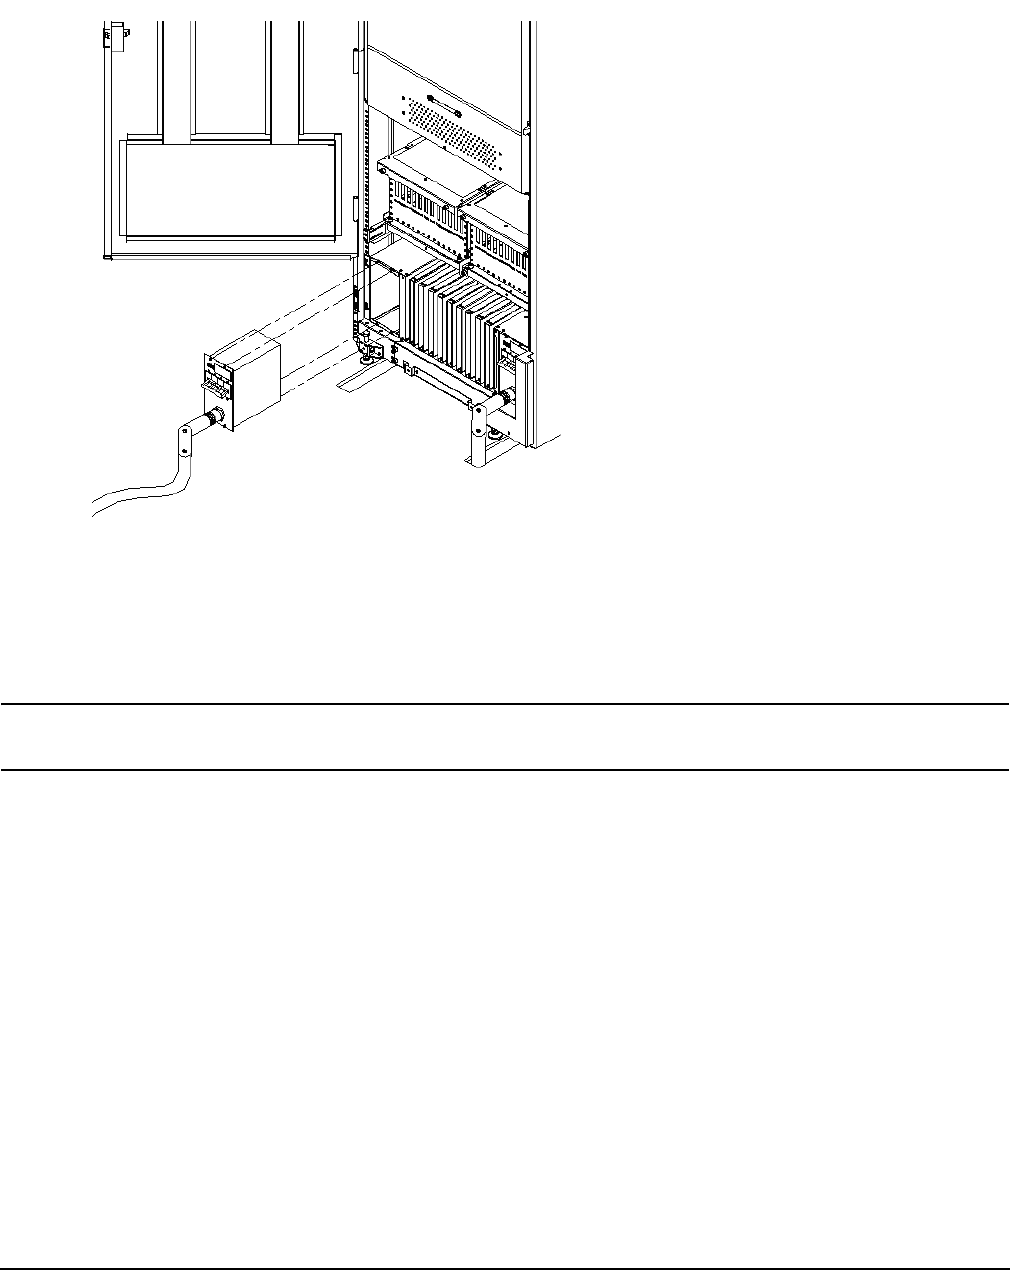
Figure 3-28 Installing the PDCA
Step 4. Using a T-20 driver, attach the four screws that hold the PDCA in place.
Step 5. If required, repeat step 2 through step 4 for the second PDCA.
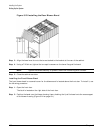
Step 6. Re-install the rear PDCA bezel.
CAUTION Do not measure voltages with the PDCA breaker set to ON. Make sure the electrical
panel breaker is ON and the PDCA breaker is OFF.
Step 7. Plug in the PDCA connector.
Step 8. Check the voltage at the PDCA:
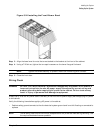
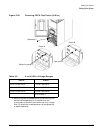
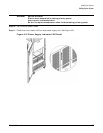
a. Using a T-20 driver, remove the screw on the hinged panel at the top of the PDCA ( Figure 3-29).
b. Using a voltmeter, measure the test points and compare the values to the ranges given in
Table 3-3 on page 107 to make sure the voltages conform to the specifications for the PDCA and
local electrical specifications.
If the voltage values do not match the specifications, have the customer contact an electrician to
troubleshoot the problem.


