Appendix C • Installing the DW4020 Manually
1031484-0001 Revision 2
79
Assembling the
components
Follow the steps below and refer to the illustrations on page 80
through page 83 to assemble the DW4020 components. After you
assemble the components, you can plug in the power supply and
observe the LED display cycling, as explained in The DW4020
LEDs on page 86.
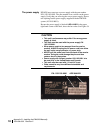
1. Write down the receive modem serial number. It is located
below the barcode on the back of the modem and is the
second portion of the line. (For example, R1CF4B21E -
00827500 would be Serial Number 827500.)
2. Be sure the power supply is not plugged into a wall outlet,
surge protector, or power strip.
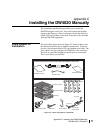
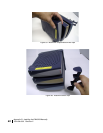
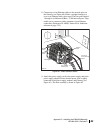
3. Lay two of the four clips on a table and mount the
components as shown in Figure 55. Mount the Gateway first,
then the transmit modem, then the receive modem.
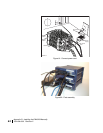
4. Turn the component stack right side up and install the other
two clips as shown in Figure 56.
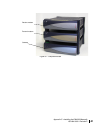
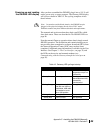
5. Double-check that the components are installed in this order
from top to bottom: receive modem, transmit modem,
Gateway (see Figure 57).
CAUTION
• The components must be stacked in this order: Gateway
on bottom; transmit modem on top of Gateway; receive
modem on top of transmit modem. See Figure 57.
• If the components are not stacked in the proper order, the
receive modem may overheat and malfunction.
• Do not block any ventilation openings. Do not install near
any heat sources such as radiators, heat registers,
ovens, stoves, or other apparatus (including amplifiers)
that produce heat.
• Recommended ventilation space around the top and
sides of the DW4020 assembly should be approximately 6
inches. Ventilation is necessary to avoid overheating.
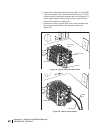
Note: The Gateway and the transmit modem have a hole at
the center of each of its four feet. There is a tab on the bottom
of each mounting clip, which snaps into place on the Gateway
when properly aligned over the hole.There is also a tab in the
middle of each mounting clip, which snaps into place on the
transmit modem when properly aligned over the hole.
Note:


