


21
Installing the Projector
ENGLISHDEUTSHFRANÇAISITALIANOESPAÑOL
DLA-G150CLE / LCT1124-001A / ENGLISH
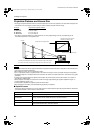
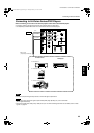
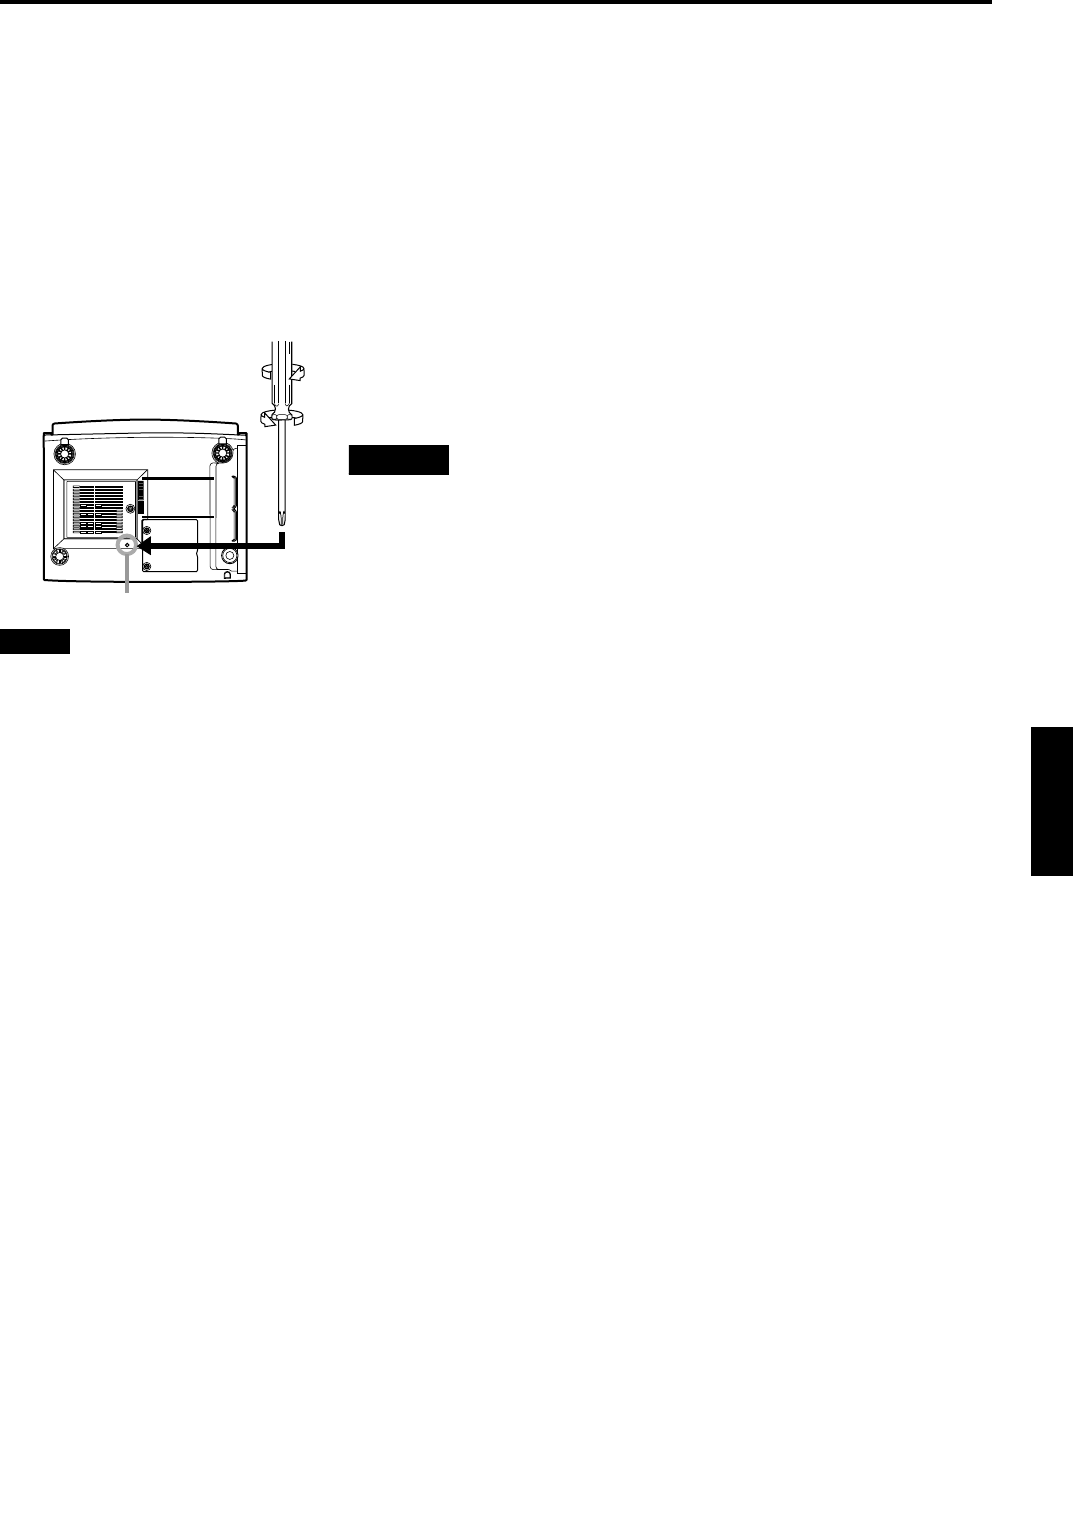
Setting the Position Selecting Screw for Ceiling Mounting
When using the projector in an upside-down, ceiling-mounted position (inverted top-to-bottom and right-to-left), the “position
selecting screw for ceiling mounting” must be turned to switch to ceiling mounting.
This will correct variance in color images (shading), which otherwise would occur in ceiling mounting.
To revert to normal desktop setting, turn the “position selecting screw for ceiling mounting” back to the initial position (factory-
shipped).
When using the projector in an upside-down, ceiling-mounted position:
Turn the “position selecting screw for ceiling mounting” fully counterclockwise (until it is turning idly).
To again use the projector in a normal desktop setting:
Turn the “position selecting screw for ceiling mounting” fully clockwise (until it firmly tightens).
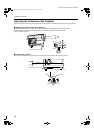
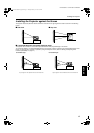
For normal desktop mounting:
Turn the screw clockwise.
For upside-down, ceiling-mounting:
Turn the screw counterclockwise.
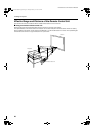
•To ceiling-mount and adjust the projector, special expertise and technique are
necessary. Be sure to ask your dealer or a specialist to perform this work.
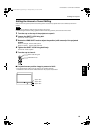
•To turn the “position selecting screw for ceiling mounting”, use a Phillips
screwdriver with a 30-mm or longer shank.
The screw is located in the hole shown in the illustration.
Note
• When using the projector in a ceiling-mounted position, you should reverse the projected image by changing the settings of
Right Left rev. and Top Bottom inv. menus. For details, refer to page 54. You can also change these settings without
receiving a video signal. In this case, refer to “Menu Transition Diagram in No signal Menu Mode” on page 38.
When installing (adjusting/setting) the unit
• When using “Top Bottom inv.” on the “Options” menu, reset the unit by following the procedure below.
• This reset procedure must be performed before operating the unit.
1. Change the “Top Bottom inv.” Setting on the “Options” menu.
2. Press the OPERATE button to enter the unit into the stand-by mode.
3. Press the OPERATE button again to turn on the unit.
• Adjust the focus after projecting a picture for 30 minutes or longer.
Position selecting screw for ceiling mounting
CAUTIONS
DLA-G150CLU&CLE_Eng.book Page 21 Thursday, February 21, 2002 5:45 PM