Kodak ESP 9 Printer User Guide 73
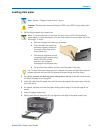
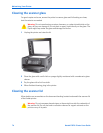
Your Kodak ESP 9 All-in-One printer requires little maintenance. However, Kodak
recommends cleaning the scanner glass and lid backing regularly to remove dust and
fingerprints. Fingerprints and other debris on the glass or lid backing could slow down the
printer’s performance, and affect the quality and accuracy of scanning.
Service agreements are available in some countries. Contact dealers for Kodak products
for more information.
For recycling and or disposal information, contact your local authorities. In the U.S., visit
the Electronics Industry Alliance Web site at www.eiae.org
.
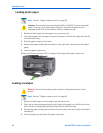
General care
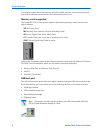
• To clean the printer, wipe the outside with a clean, dry cloth.
• Keep the surrounding area vacuumed and litter-free.
• Protect the printer from tobacco smoke, dust, sand, other small particles (such as
crumbs), and liquid spills.
• Avoid placing objects on the printer.
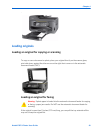
• Keep the printer supplies away from direct sunlight and out of high-temperature
environments.
• Do not allow chemicals, such as suntan lotion, to come into contact with the painted
surface of the printer.
• If the printer has been exposed to bad weather or has water inside it, turn it off and let it
dry completely. If this does not solve the problem, contact customer support (see
“Contacting Kodak Customer Service & Support” on page 2).
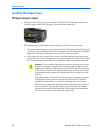
9
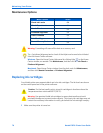
Maintaining Your Printer
Caution: Always disconnect the power on the this All-in-One printer before
cleaning it. Do not use harsh or abrasive cleaners or organic solvents on the
printer or any of its parts.