Chapter 9
Kodak ESP 9 Printer User Guide 75
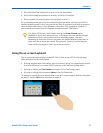
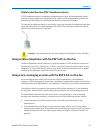
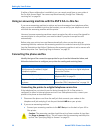
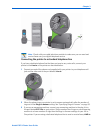
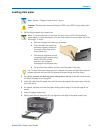
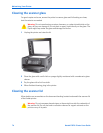
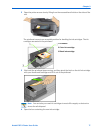
1 Unplug the printer and raise the lid.
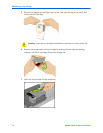
2 Clean the underside with a soft cloth or sponge, slightly moistened with a mild soap and
warm water.
3 Wipe the underside gently to loosen debris. Do not scrub.
4 Dry the underside with a chamois or soft cloth.
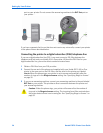
5 If further cleaning is needed, repeat the previous steps using isopropyl (rubbing)
alcohol, and wipe the underside thoroughly with a damp cloth to remove any residual
alcohol.
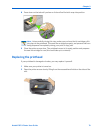
6 When finished cleaning, plug in the printer.
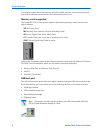
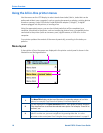
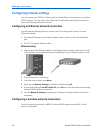
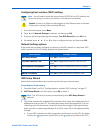
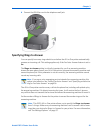
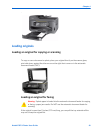
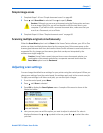
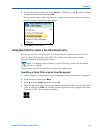
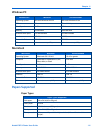
Monitoring and adjusting the printer's performance
From the control panel, you can perform many tasks to keep this printer in good working
order. For example, you can check the status of the printer’s inkjet nozzle to ensure high-
quality prints. Kodak recommends that you run a nozzle check if you are experiencing
changes in image quality. You can also use the
Printhead Alignment function if you see
degradation in print quality.
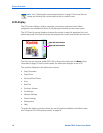
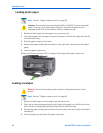
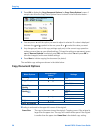
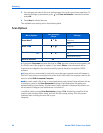
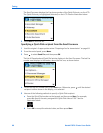
1 Make sure that there are 5
–10 sheets of plain paper loaded in the bottom paper tray.
2 Press
Menu to display the main menu.
3 Press
until Maintenance is selected.
4 As needed, press
until the desired option is selected.
5 Press
OK.
6 Follow the prompts on the LCD display to initiate or cancel the task.
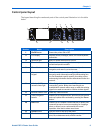
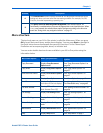
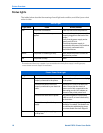
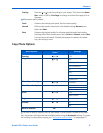
These available maintenance options are shown in the table below: