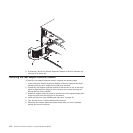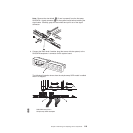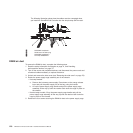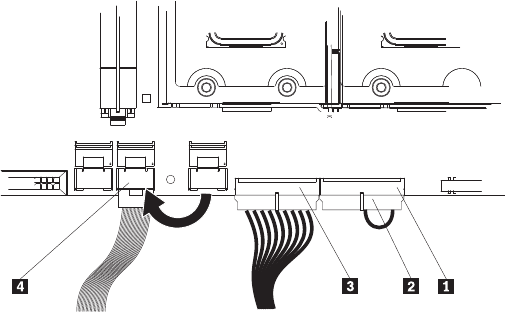
The following illustration shows how the cables must be connected when
you install the ServeRAID-8k Controller into the simple-swap SATA model.
1 SAS/SATA backplane 1
2 RAID level-5 enabler plug
3 SAS/SATA backplane 2
4 Hot-swap SAS/SATA 1
DIMM air duct
To remove the DIMM air duct, complete the following steps.
1. Read the safety information that begins on page vii, and “Handling
static-sensitive devices” on page 75.
2. Turn off the server and peripheral devices, and disconnect the power cords and
all external cables necessary to replace the device.
3. Unlock and remove the side cover (see “Removing the side cover” on page 78).
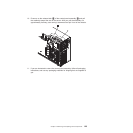
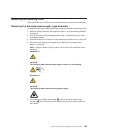
4. Rotate the power-supply cage assembly out of the chassis:
v Hot-swap models:
a. Remove the hot-swap power-supply. Press down on the orange release
lever and pull the power supply out of the bay, using the handle.
b. Lift up the power-supply cage handle and pull the power-supply cage
assembly all the way up until the retainer latch locks the cage in place on
the chassis.
v Non-hot-swap models, lift up the power-supply cage handle and pull the
power-supply cage assembly all the way up until the retainer latch locks the
cage in place on the chassis.
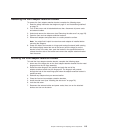
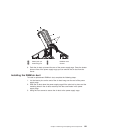
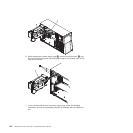
5. Remove the four screws securing the DIMM air duct to the power supply cage.
120 ThinkServer TD100 and TD100x: Hardware Maintenance Manual


