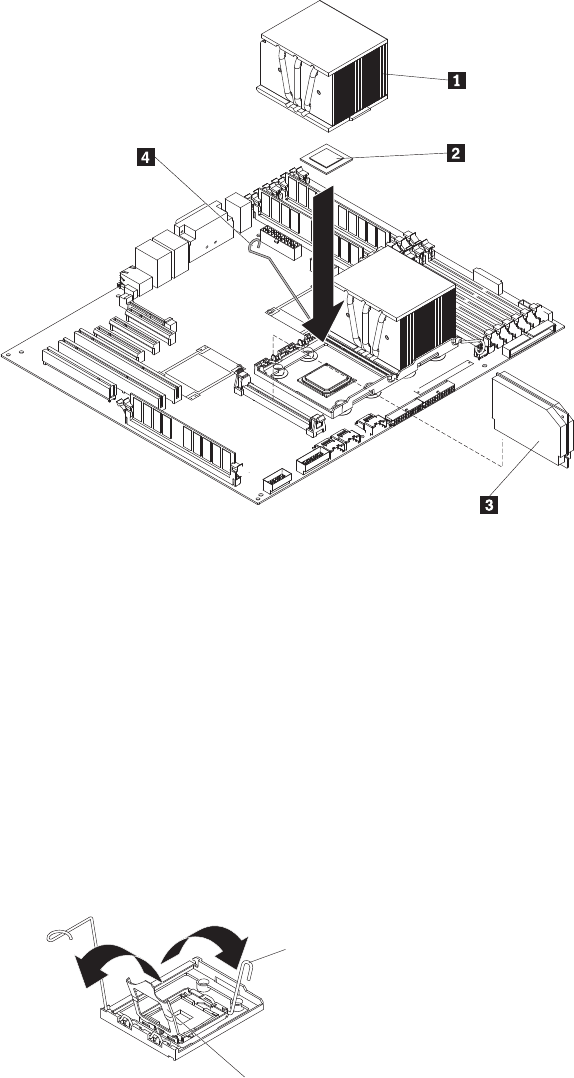
Installing a microprocessor and heat sink
Important: Some models support dual-core processors and quad-core processors.
Do not mix dual-core and quad-core processors in the same server. Install all
dual-core processors or all quad-core processors in the server.
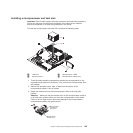
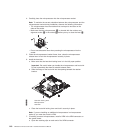
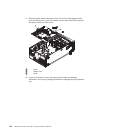
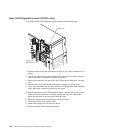
To install the microprocessor and heat sink, complete the following steps.
1 Heatsink 2 3 Microprocessor 2 VRM
2 Microprocessor 2 4 Microprocessor release lever
1. Touch the static-protective package that contains the microprocessor to any
unpainted metal surface on the server. Then, remove the microprocessor from
the package.
2. Remove the protective cover, tape, or label from the surface of the
microprocessor socket, if any is present.
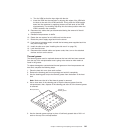
3. Rotate the release lever on the microprocessor socket to the fully open
position.
Attention: Make sure that the release lever on the microprocessor socket is
in the fully open position before you insert the microprocessor in the socket.
Failure to do so might result in permanent damage to the microprocessor,
microprocessor socket, and system board.
Microprocessor
release lever
(fully open)
Microprocessor
bracket frame
Chapter 4. Removing and replacing server components 139


