Installing the simple-swap backplate (TD100 - some models)
This procedure applies only to server models that have a simple-swap backplate
installed on the back of the hard disk drive cage.
To install the simple-swap backplate, complete the following steps.
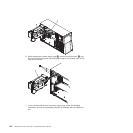
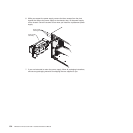
1. Insert the bottom tabs of the simple-swap backplate with the slots on the lower
lip of the drive cage.
2. Rotate the simple-swap backplate toward the drive cage until it locks in place
in the retaining tab of the spring-release latch on the drive cage.
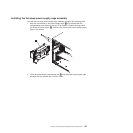
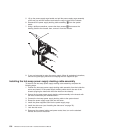
3. Connect the combination signal/power cable the backplate (see “System-board
internal connectors” on page 10 for the location of the connectors).
4. Install the simple-swap hard disk drives that were removed from the hard disk
drive cage (see “Installing a simple-swap hard disk drive” on page 93).
5. Reinstall the front fan cage assembly (see “Installing the front system fan cage
assembly” on page 109.
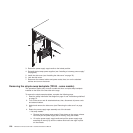
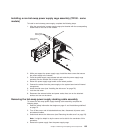
6. Press the power-supply cage release tab and rotate the power-supply cage
assembly into the chassis until it locks in place.
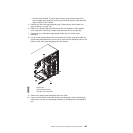
7. Return the power-supply cage handle to the locked position.
8. If you have a hot-swap model, reinstall the hot-swap power supplies (see
“Installing a hot-swap power supply” on page 96).
9. Install the side cover (see “Installing the side cover” on page 79).
10. Lock the side cover if it was unlocked during removal.
11. Reconnect the external cables and power cords; then, turn on the attached
devices and turn on the server.
130 ThinkServer TD100 and TD100x: Hardware Maintenance Manual


