Administrator’s Guide for ViewStation EX, ViewStation FX, and VS4000
2-2 www.polycom.com/videodocumentation
Standard System Set-up
This section describes how to connect the components that are required for the
basic system set-up. Procedures for connecting additional equipment are in the
next section, Optional Equipment Set-up on page 2-10.
Positioning the Main System
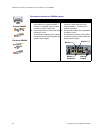
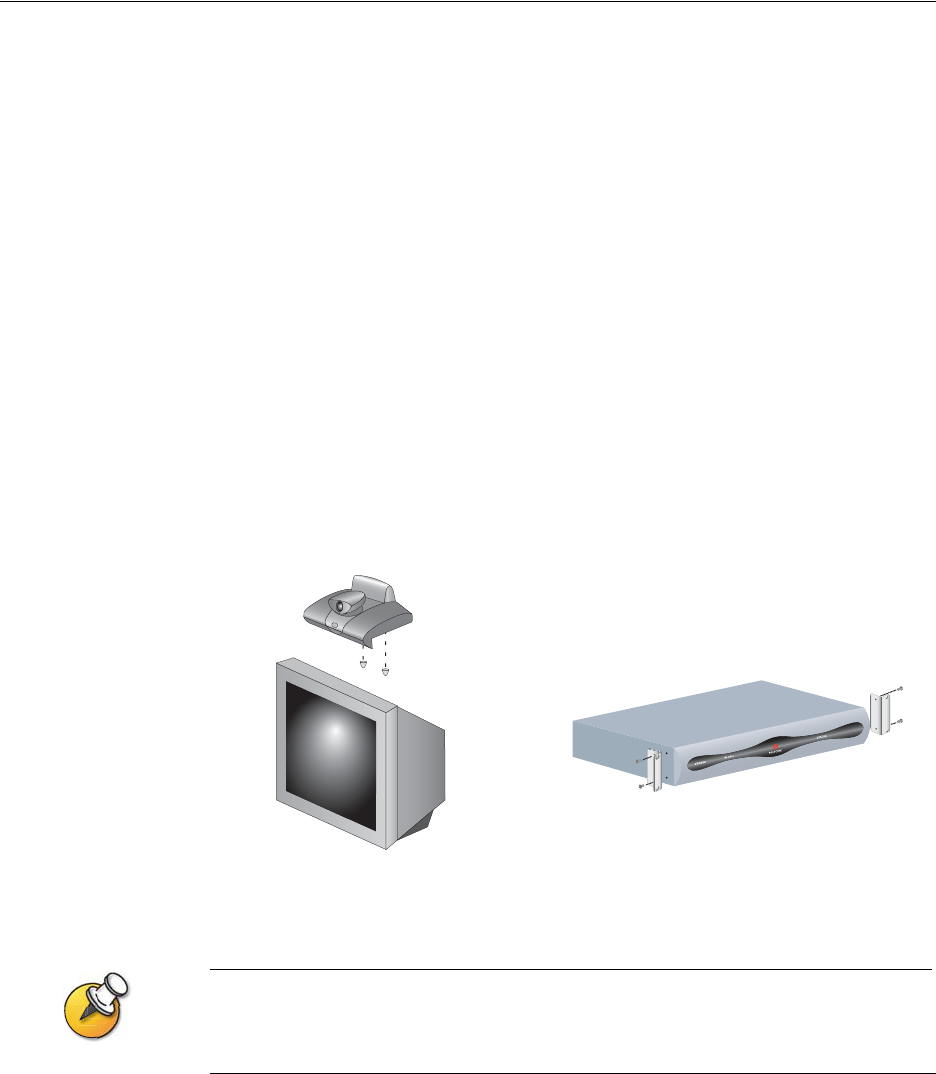
The ViewStation EX and ViewStation FX systems are designed to be placed on top
of a monitor. If the monitor’s chassis slopes back sharply, you may need to install
feet on the bottom of the system to stabilize it. The hardware kit you received with
the unit includes a pair of self-adhesive feet.
The VS4000 system is designed as a tabletop or rack-mounted unit. To mount it in
an equipment rack, you will need to attach the mounting brackets provided with
the system.
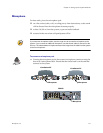
To position the system:
1. If necessary, install feet (ViewStation EX or ViewStation FX) or mounting
brackets (VS4000) on the system.
2. Place the system in the desired location. Leave enough space to work, so that
you can connect the cables easily.
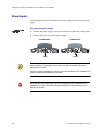
The original VS4000 uses 4-pin mini-DIN connectors for all S-Video connections; the
enhanced VS4000 uses dual BNC connectors. Because of this, installation procedures for
cameras and monitors are slightly different for the two.


