Printing Guide — Installing Client Software for Macintosh 177
TOSHIBA_e-STUDIO450Series.gz (for e-STUDIO450 Series)
TOSHIBA_e-STUDIO280Series.gz (for e-STUDIO280 Series)
3. Double-click the boot drive icon and open the “Library:Print-
ers:PPDS:Contents:Resources:en.lproj” folder.
4. Copy the PPD file for Mac OS X to the “en.lproj” folder.
5. Continue the procedure for configuring the printer.
P.177 "Configuring the Printer on Mac OS X"
Configuring the Printer on Mac OS X
After you copy the PPD file to the library folder in the System Folder, you can configure the
printer.
This equipment supports two types of Macintosh Printing Service: IP Printing and AppleTalk
Printing.
• IP Printing
When this equipment and your computer are connected over TCP/IP network, you can
enable IP printing from Macintosh computer.
• AppleTalk Printing
When this equipment and your computer are connected over AppleTalk network, you can
enable AppleTalk printing from Macintosh computer.
Configuring Macintosh IP printing
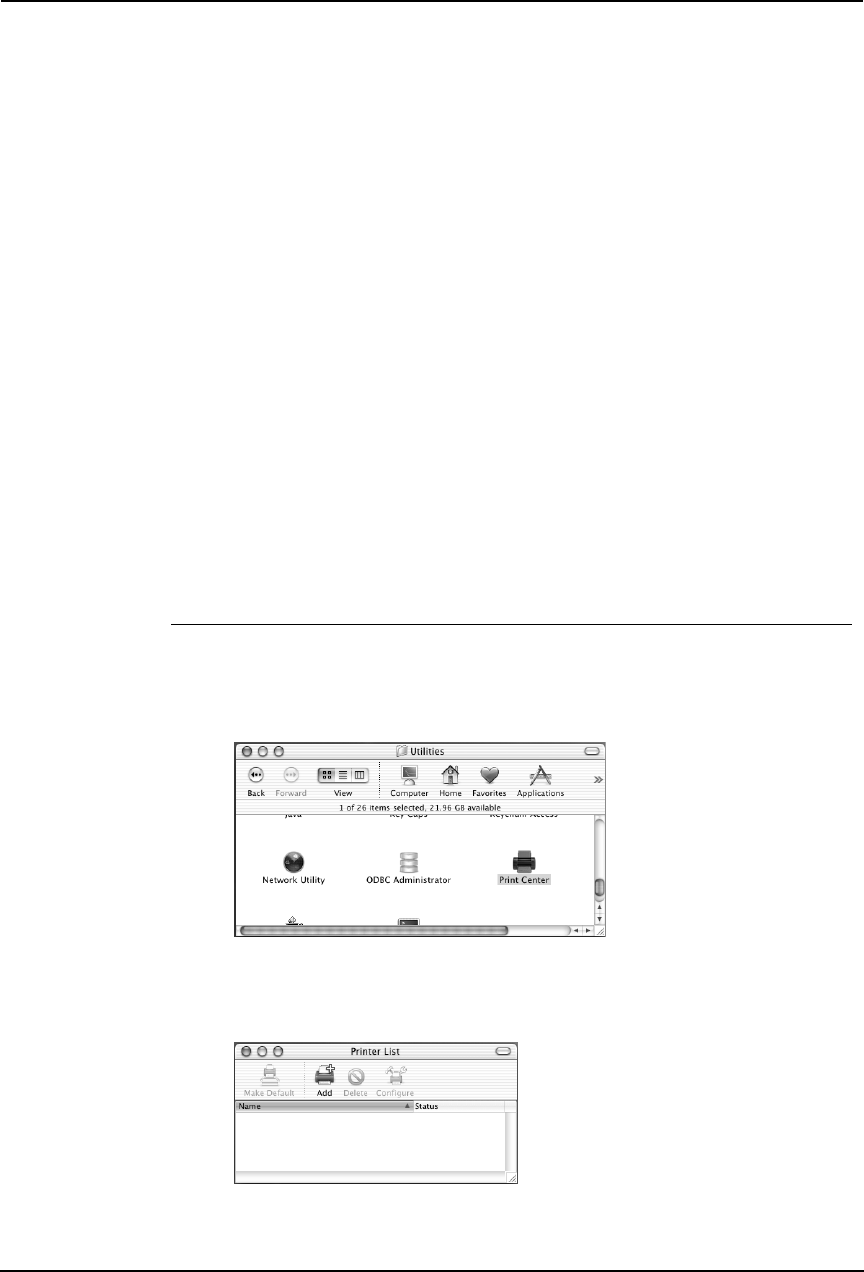
1. Start the Print Center (for Mac OS X 10.2.4 to 10.2.8) or Printer
Setup Utility (for Mac OS X 10.3 or later), located in the
“Applications:Utility” folder in the Boot Disk.
• The Printer List dialog box appears.
2. Click [Add].


