Printing Guide — Printing from Windows 251
NOTE: • This number will be used to release the private job from the Touch Panel Display. If
you forget this number, you can no longer print the private print job.
2. Set other print options you require and click [OK].
3. Click [OK] or [Print] to send a print job.
• The print job is stored in the Private Job list in the Touch Panel Dis-
play.
SUPPLEMENT: • You can release the private job from the Private Job list in the Touch Panel Display.
Please refer to the Operator’s Manual for Basic Function for this instruction.
— Printing Proof Print Jobs
The proof print feature prevents costly mistakes by allowing you to check the printed output on
a sample copy before printing an entire multi-copy job
Printing a proof copy
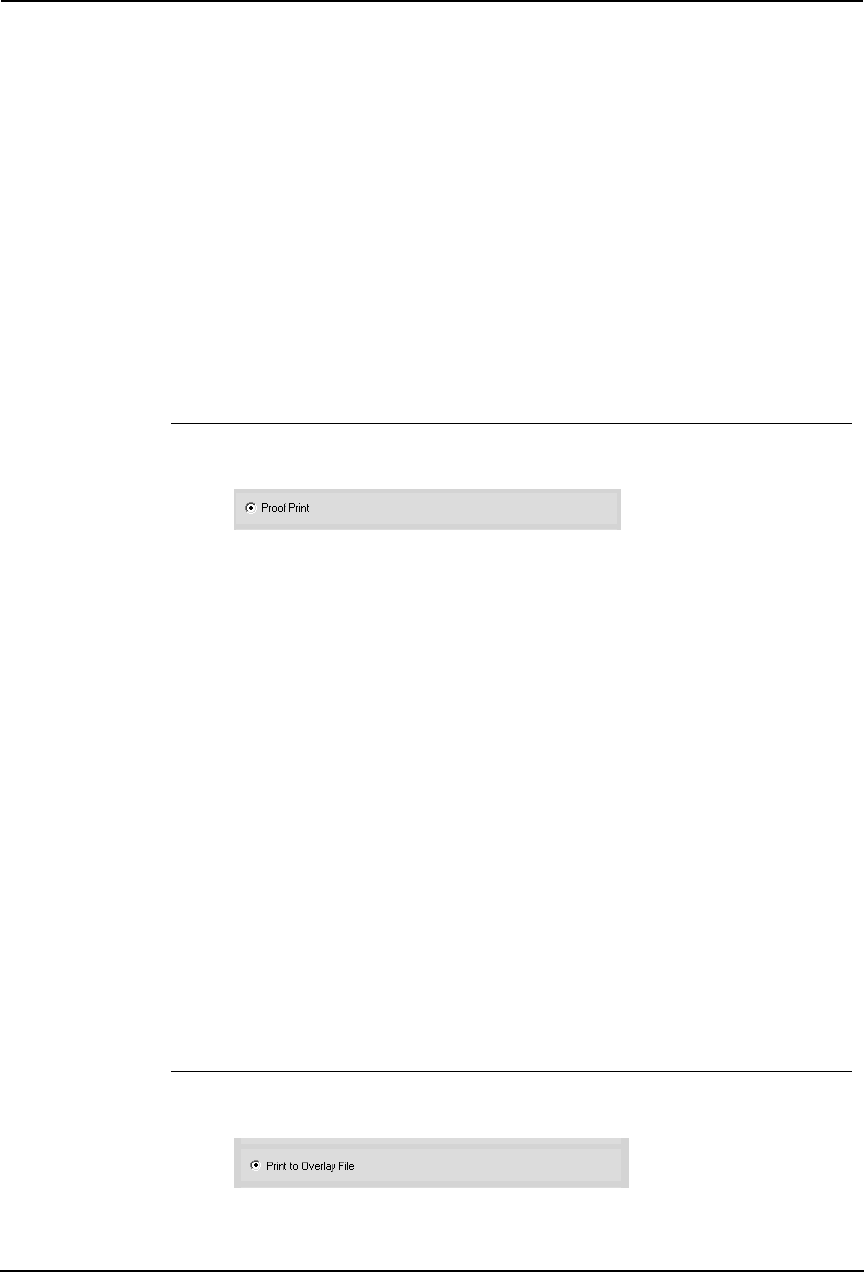
1. Display the Print Job tab and select “Proof Print”.
2. Set other print options you require and click [OK].
3. Click [OK] or [Print] to send a print job.
• One copy of the document is printed and the print job is stored in the
Proof Job list in the Touch Panel Display.
SUPPLEMENT: • You can release the remaining copies of a proof job from the Proof Job list in the
Touch Panel Display. Please refer to the Operator’s Manual for Basic Function
for this instruction.
— Creating An Overlay File
You can print a document as an overlay file. The created overlay file can then be merged into
another document during printing.
P.267 "Printing with an Overlay File"
NOTES:
• If the print job has several pages in the document, only the first page of the docu-
ment will be saved as an overlay file.
• Both the overlay file and the documents on which you superimpose the overlay
image must be created at the same size, orientation, color mode, and resolution.
Printing a document as an overlay file
1. Display the Print Job tab and select “Print to Overlay File”.
2. Set other print options you require and click [OK].


