


4 Replacement Procedures 4.6 CPU
4-28 Satellite Pro M10 Series Maintenance Manual (960-431)
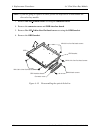
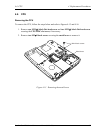
Installing the CPU
To install the CPU, follow the steps below and refer to Figures 4-13 to 4-17.
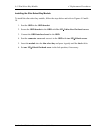
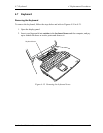
1. Make sure the cam is in the open position.
2. Seat the CPU in the CPU socket, aligning the triangle mark on the CPU with that on
the socket. Make sure the alignment is exact to avoid damaging pins on the CPU.
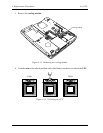
3. Press the interposer gently with your fingers and turn the cam on the CPU socket to
the lock position with a flat-blade screwdriver to secure the CPU.
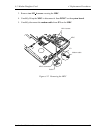
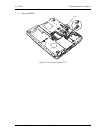
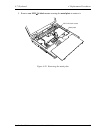
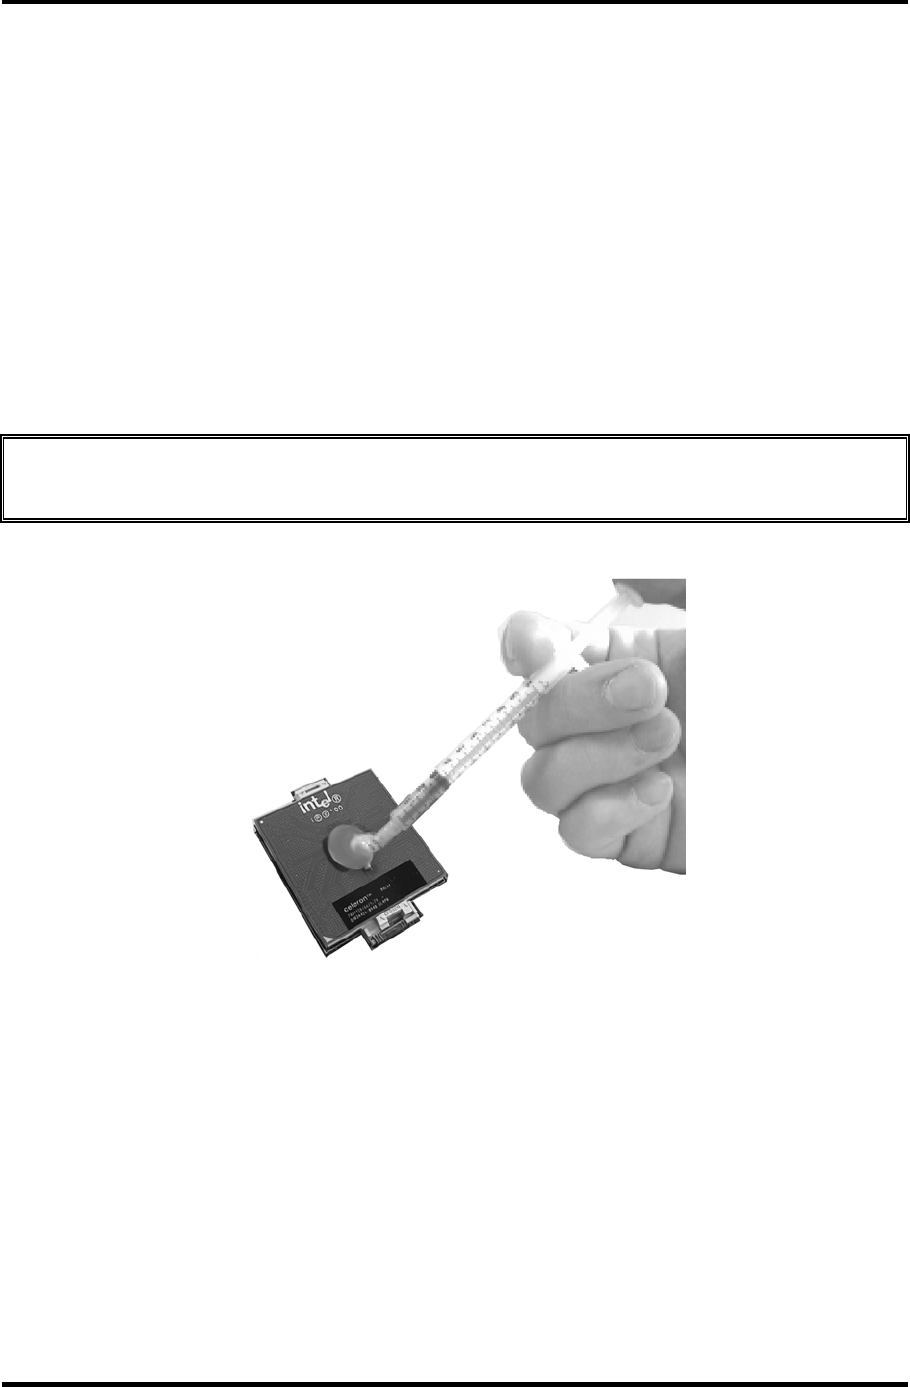
4. Wipe away the remaining grease on the back of the cooling plate.
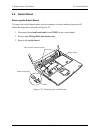
5. Apply new grease on the CPU as shown in Figure 4-17.
CAUTION: When you install the CPU, apply new grease on the top of the chip. Make
sure the bottom of the heat pipe covers the top of the CPU.
Figure 4-17 Applying new grease
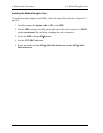
6. Seat the cooling module on the CPU.
7. Seat the metal brace and secure it with two M2×4 screws.
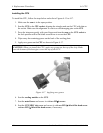
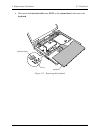
8. Seat the CPU/MDC slot cover and secure it with one M2.5×6 black flat-head screw
and two M2.5×4 black flat-head screws, if necessary.