


I.1.1
Layout purpose and workflow
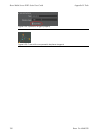
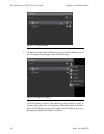
The Projection Study layout is mostly used inthe initial phases ofa production. It isthe
layout best suited for creating your 3D scene and arranging your displays. You can
create multiple display configurations, and produce a study document to detail and
evaluate each configuration. Ifthere isno need to produce such documents,you should
stilluse the Projection Study layout to create yourscene anddisplays, becausethislayout
has features that may helppeople working at amore technical level: technical directors,
architects, and integrators.
The usual workflow in the layout as follows:
1. Create your 3D scene.
2. Create and set the properties of displays, and evaluate the luminance
and resolution quality of your display or projector configuration by
selecting a visualization mode.
3. Createand arrange pages fortheprintabledocument thatdetails crucial
information concerning the advantages and disadvantages of each
configuration.
4. Export or print the resulting document.
5. Repeat steps 2 to 4 for different display configurations if necessary.
Optionally, for complex projects, once a final display configuration has been chosen,
use the Content Production tool to create 2D templates for the artists to work in the
scene. If your project contains only flat surfaces, this step can be ignored, because the
mapping of media on flat surfaces can be done easily by using the media element
properties in the Programming layout.
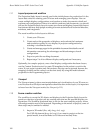
I.1.2
Viewport
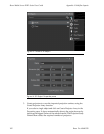
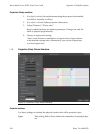
The Viewport pane is where most manipulation and visualization of your 3D scene oc-
curs. Becausemost 3Dobject manipulationshould bedone inthis layout, it isimportant
to know how the Viewport works. See Viewport (p.113).
I.1.3
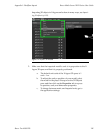
Scene creation workflow
The workflow to create the 3D objects and displays in the Projection Study layout de-
pends on what type of project you are creating and what are the possible display con-
figurations. The workflow presented here is one for the most complex projects, where
external geometries need to be imported. Depending on the nature of projects, some of
these steps may be omitted or altered.
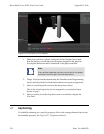
1. Import a 3D model (.fbx, .obj, .dwg, .dxf, .svg).
For CAD file formats (dwg, dxf, svg), if you want to project on the im-
ported model, it must be made out of faces and not only lines.
Barco Pn: 60600320140
Appendix I: Workflow layoutsBarco Media Server XHD-Series User Guide