


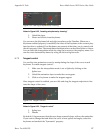
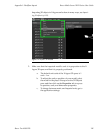
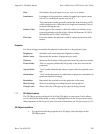

Note
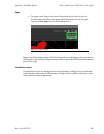
In the event that you are using X-Agora to project onto a traditional flat
surface (screen or otherwise), you can usethe Projection Study Wizard from
the Tools menu. This creates a projector array and also a screen that can
be usedas aprojectionsurface.When usingthe Projection StudyWizard this
way, you can manually enter the coverage area dimensions.
Figure I.5. Projection Study wizard
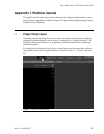
I.1.4
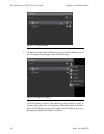
Importing 3d objects
Importing 3D objects in X-Agora can be done in many ways. You can import objects by
using the File menu of the X-Agora interface, the Add Object menu of the 3D Objects
pane, or by dragging a valid file directly in the Viewport. X-Agora can import many
file formats, however, because each file format stores different information, not all file
formats have the same possibilities once they have been imported.
The supported file formats are .fbx, .obj, .dwg, .dxf and .svg. Those file types can be
separated in two categories: modeling software formats (.fbx, .obj) and CAD drawing
formats(.dwg,.dxf and.svg). Themost completefileformat for X-Agorais .fbx,however
you may not have control over which of those formats can be used, because the models
are usually provided by an external source. (See Supported 3D formats (p.192) for more
information.)
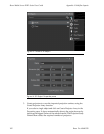
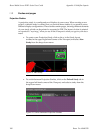
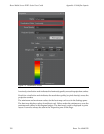
I.1.5
Using the Projection Study Wizard
Using the Projection Study Wizard, you can easily define a projection pixel space in
your 3D scene. Once your model has been imported, you can use the Projection Study
Wizard to automatically generate an array of projectors to cover the specified pixel
space. TheProjection Study Wizard canalso create ascreen thatmatches the pixel space.
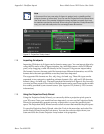
To open the Projection Study Wizard, select the Tools in the menu bar, and select Pro-
jection Study Wizard from the Tools menu. You can also select an object from your
scene and click the Create Projector Array button in its properties.
143Barco Pn: 60600320
Barco Media Server XHD-Series User GuideAppendix I: Workflow layouts