WALK-UP PHOTOCAPTURE CENTER™
12 - 8
Color Adjustment
1
Press Function, 5, 5.
2
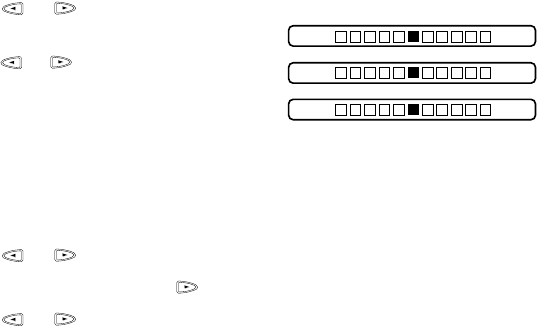
Press or to select RED,
GREEN or BLUE and press Set.
3
Press or to adjust the degree of
color and press Set.
4
Return to Step 2 to select the next
color—OR—Press Stop to exit.
Color Enhancement
1
Press Function, 5, 6.
2
Press or to select WHITE BALANCE and press Set.
To skip White Balance, press to select SHARPNESS or COLOR DENSITY.
3
Press or to adjust the degree of White Balance and press Set.
4
Repeat Step 2 and Step 3 to adjust the degree of Sharpness and Color Density
—OR—Press Stop to exit.
■ White Balance
This setting adjusts the hue of the white sections of an image. Lighting, camera
settings and other influences will effect the appearance of white. The white
parts of a picture may appear to be slightly pink, yellow or some other color. By
using this adjustment you can correct this effect and bring the white sections
back to pure white.
■ Sharpness
This setting enhances the detail of an image. It is similar to adjusting the fine
focus on a camera. If the focus is off a small amount, you can not clearly see
the fine details of an image.
■ Color Density
This setting adjusts the total amount of color in the image. You can increase or
decrease the amount of color in an image to improve a picture that may appear
washed out or weak.
Understand Error Messages
Once you are familiar with the types of errors that might occur while you’re
using the PhotoCapture Center
™
, you can easily identify and troubleshoot
difficulties. When an error message appears on the LCD, the MFC will beep to
get your attention.
MEDIA ERROR—This message appears when you insert a media card that is
either bad or not formatted, or if there is a problem with the media drive. To
clear this error, remove the media card.
R
:
– +
Light Dark
B
:
– +
G
:
– +


